
Guest Room Makeover
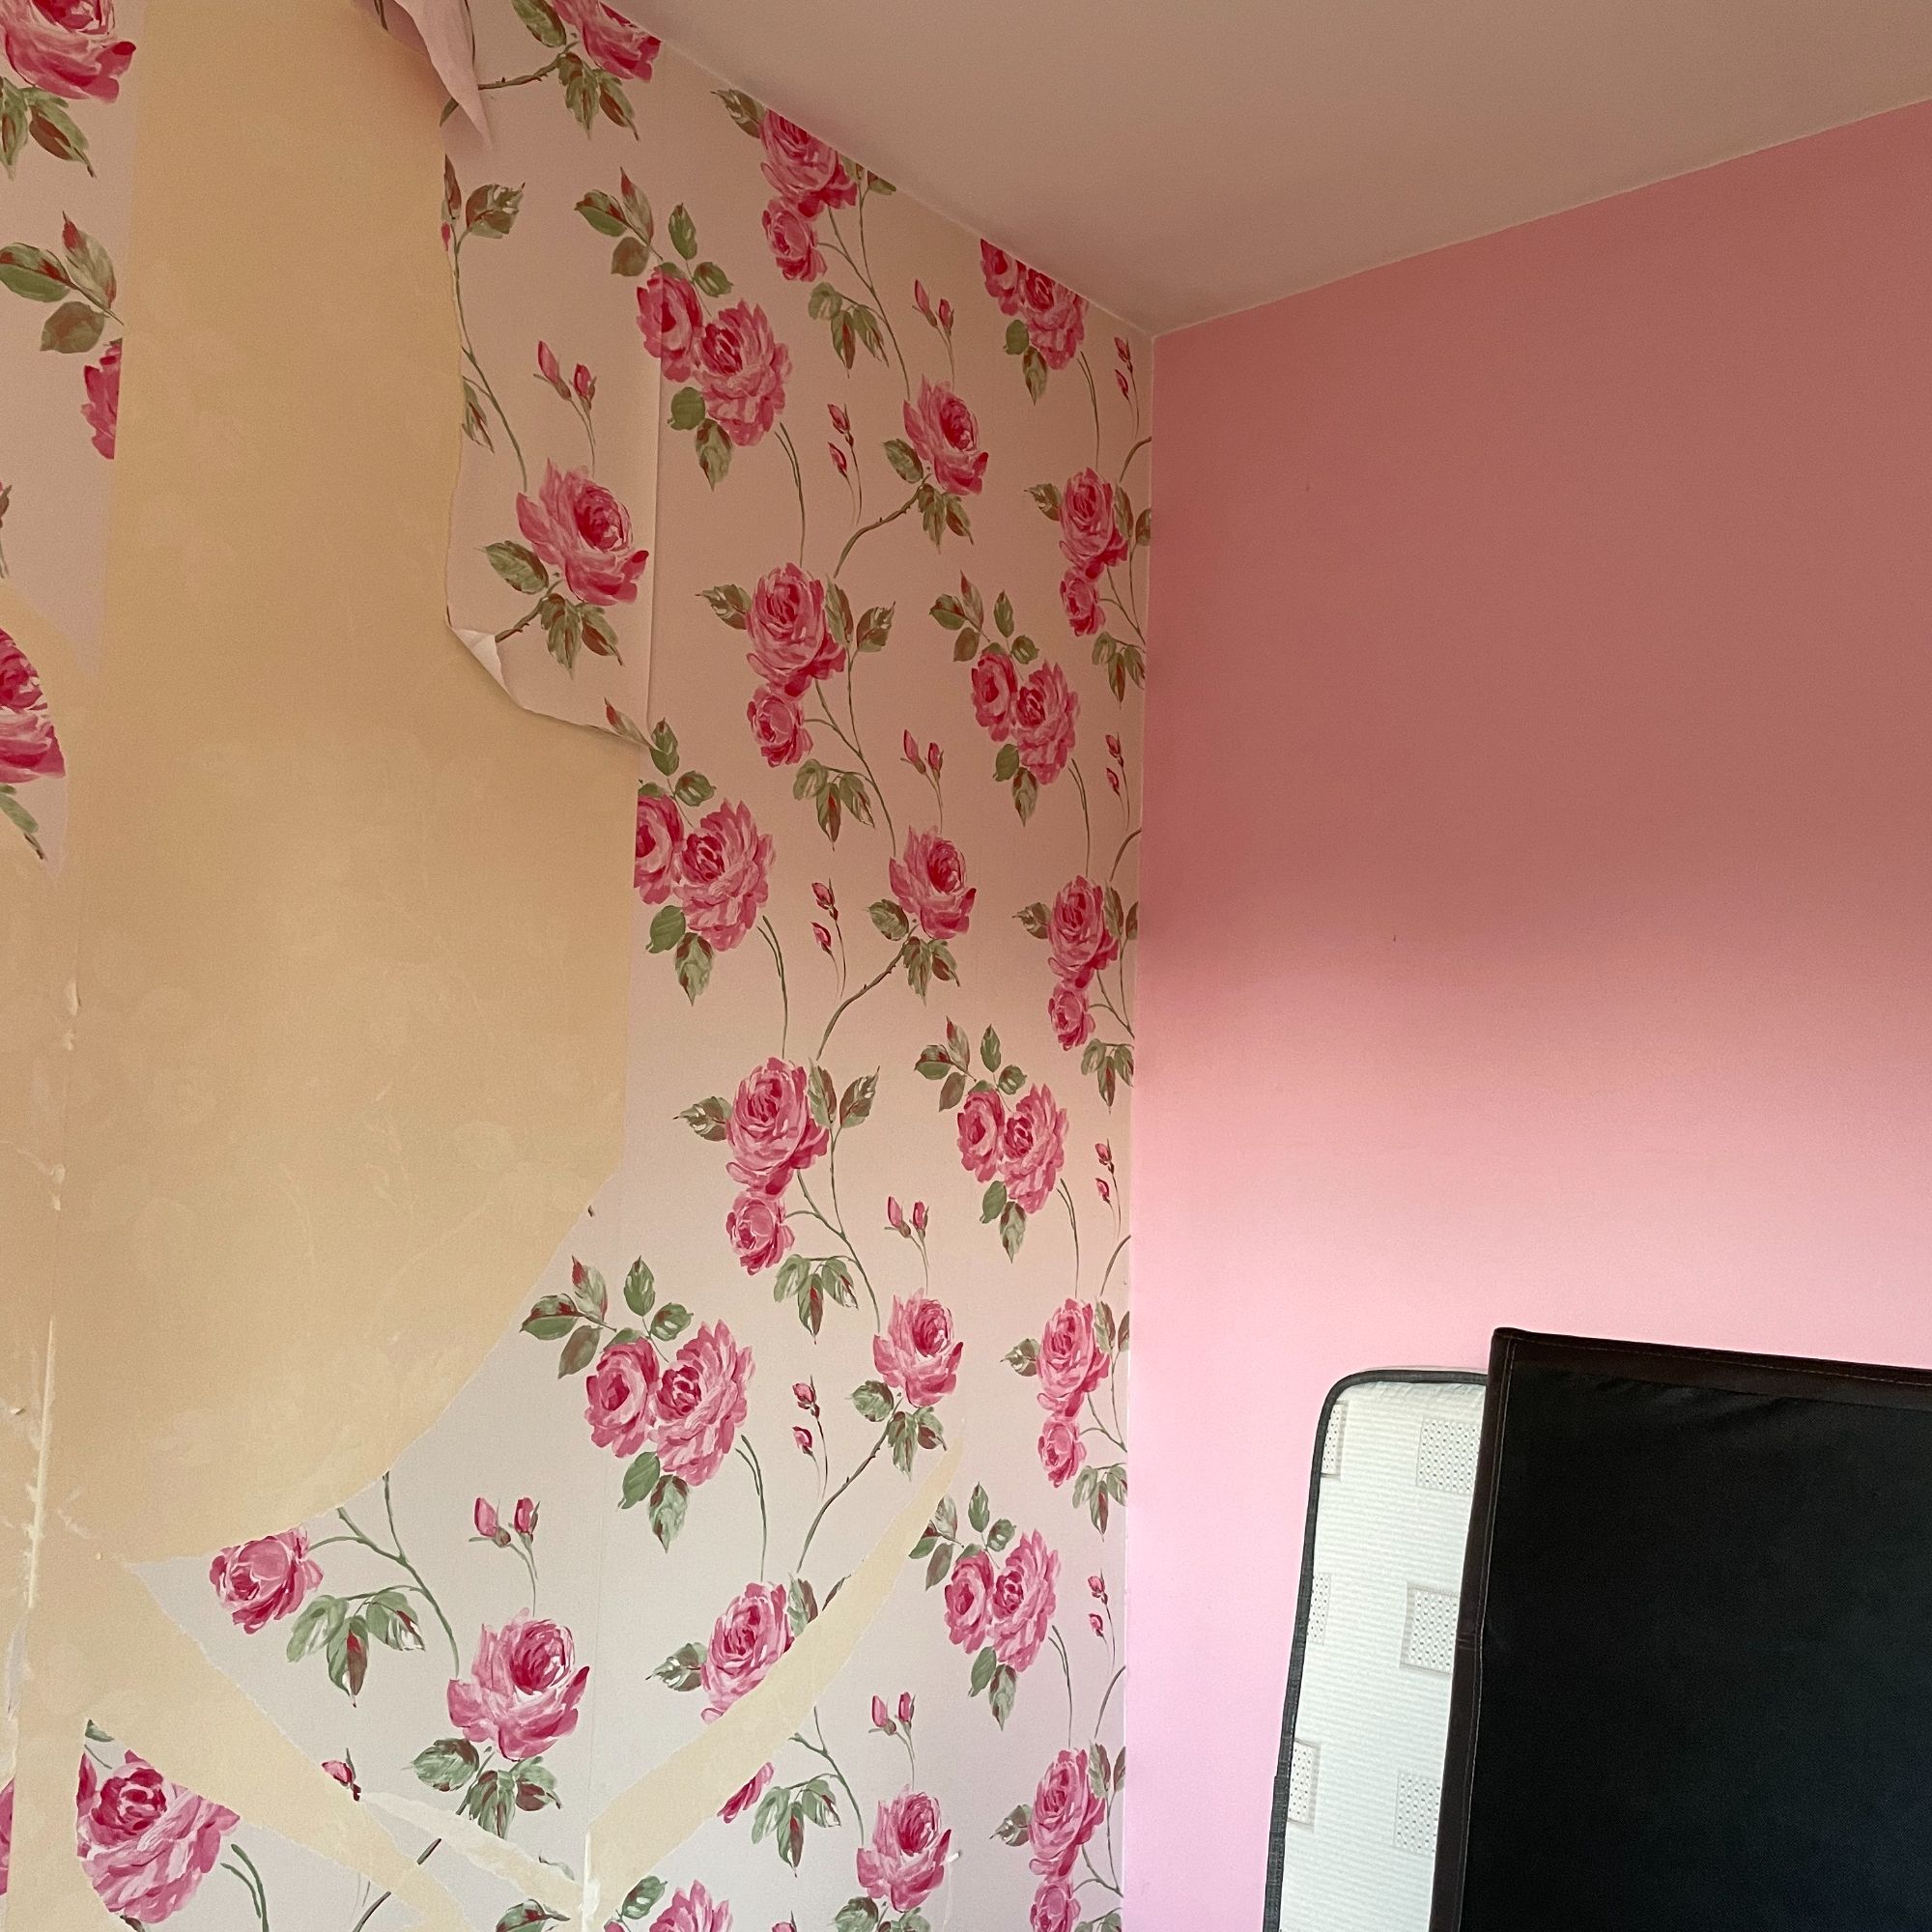
Our spare room was in dire need of redecorating. My daughter had used it as her bedroom (I'm embarrassed to say 10 years ago), hence those nasty pink walls and floral wallpaper. I remember hanging it and dreading the day I'd have to remove it again. Luckily it wasn't too bad a job. After scraping off the top layer, the backing paper remained on the wall and this was easily soaked with hot, soapy water and removed with a paint scraper. This was a modern wallpaper, so bear in mind that older wallpapers may not be as easy to remove and may require the use of a steamer.
Once the paper was removed I went over the wall with an electric sander to ensure that the surface was smooth again. Our house was built in the early 2000s so the walls are in good condition. The rest of the walls were cleaned and the curtain rail removed to make way for a roman blind that I am reusing from my daughter's room (she has a new blind - surprise, surprise). Holes were filled and sanded smooth when dry, ready for painting.
I fancied a feature wall with panelling, but working to a budget and a festive deadline meant I was definitely doing this myself. After reading a couple of quick guides online I was confident to make a start.


What you will need:
- planks of timber/MDF in the size you desire - I went with 4 x 1" planks
- measure, measure and re-measure - it's so important to get your measurements correct to avoid mistakes
- when purchasing planks of timber, be sure to check that the planks are not warped (I didn't do this and only noticed one was warped after I cut it to size)
- wood glue - I used Gorilla Glue (that stuff is good)
- panel pins/nail gun - ensure the nails/pins are long enough to go through the timber and far enough into the wall (extra support on top of the glue)
- spirit level
- hammer if you don't have a nail gun
- saw or circular saw
- sandpaper/sander/sanding pads (high grit)
- paintable caulk
- wood filler
- beading (optional for top of panelling)
- pencil, ruler, tape measure
- painter's tape (I use Deltec)
- flat, good quality synthetic brush for cutting in and woodwork (I used a Cling On F30)
- microfibre rollers 4" and 9" (Two Fussy Blokes semi-smooth used on the walls and panelling)
- paint of choice
- dust sheets
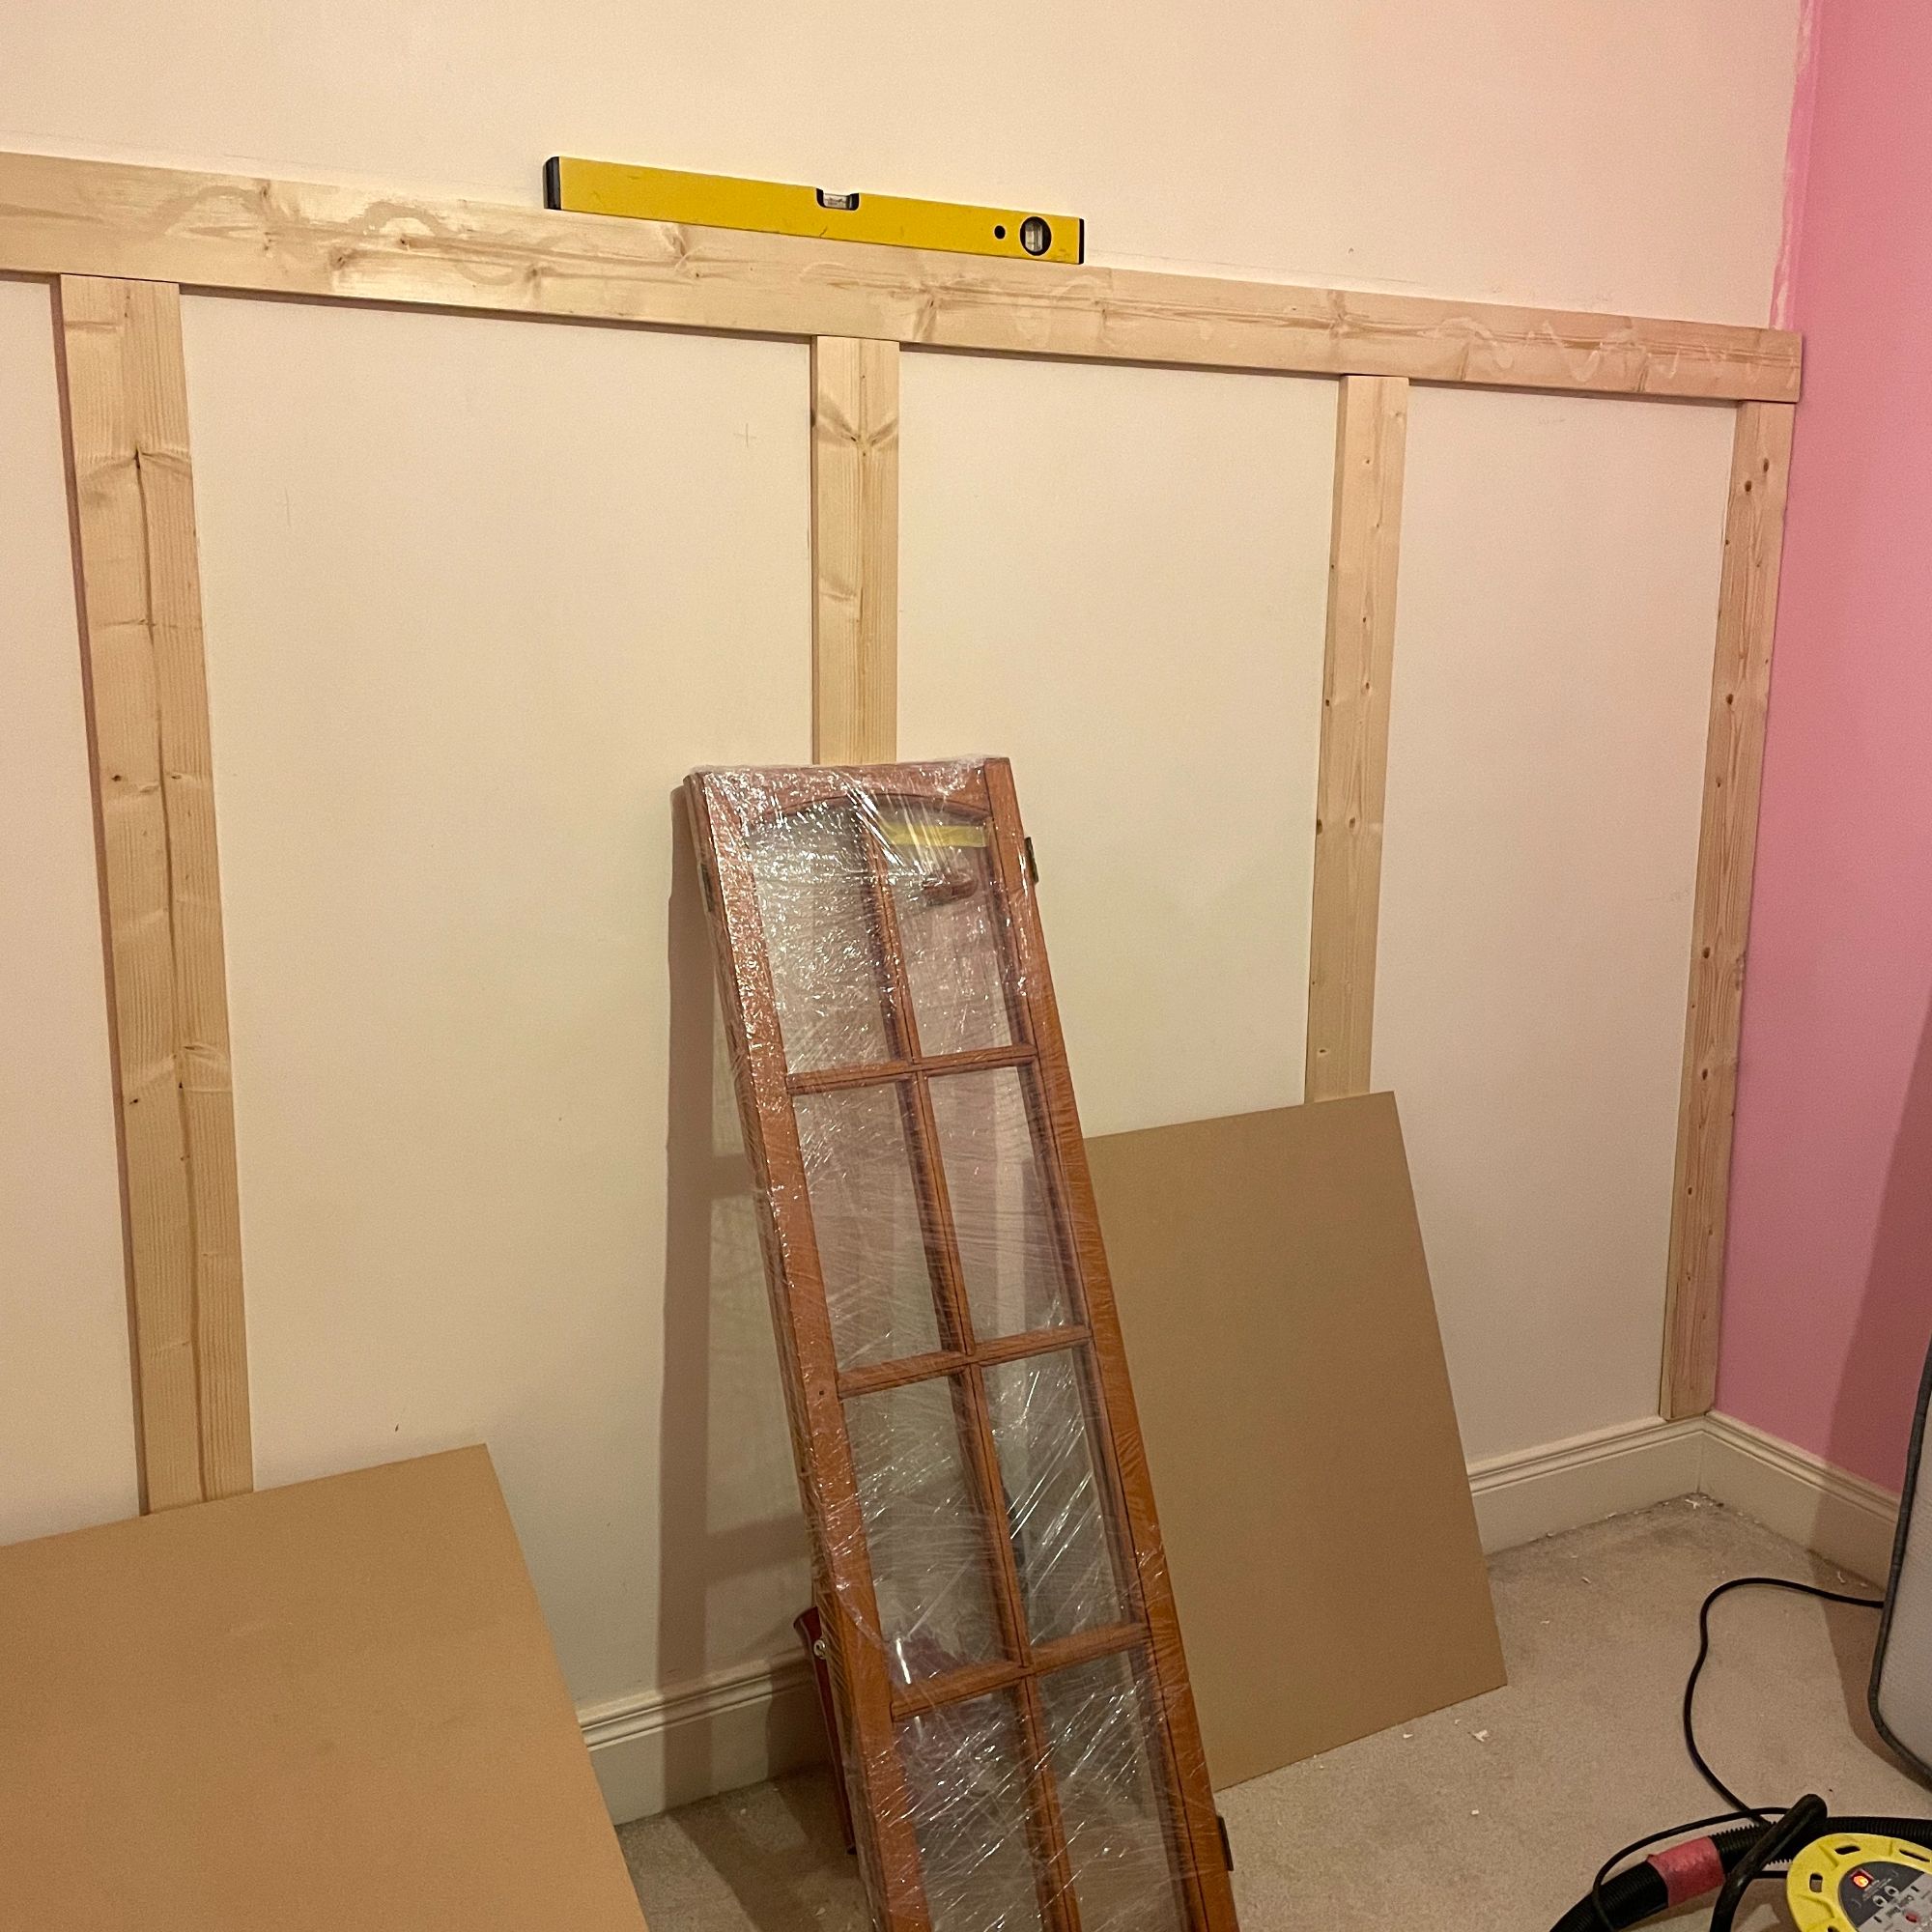
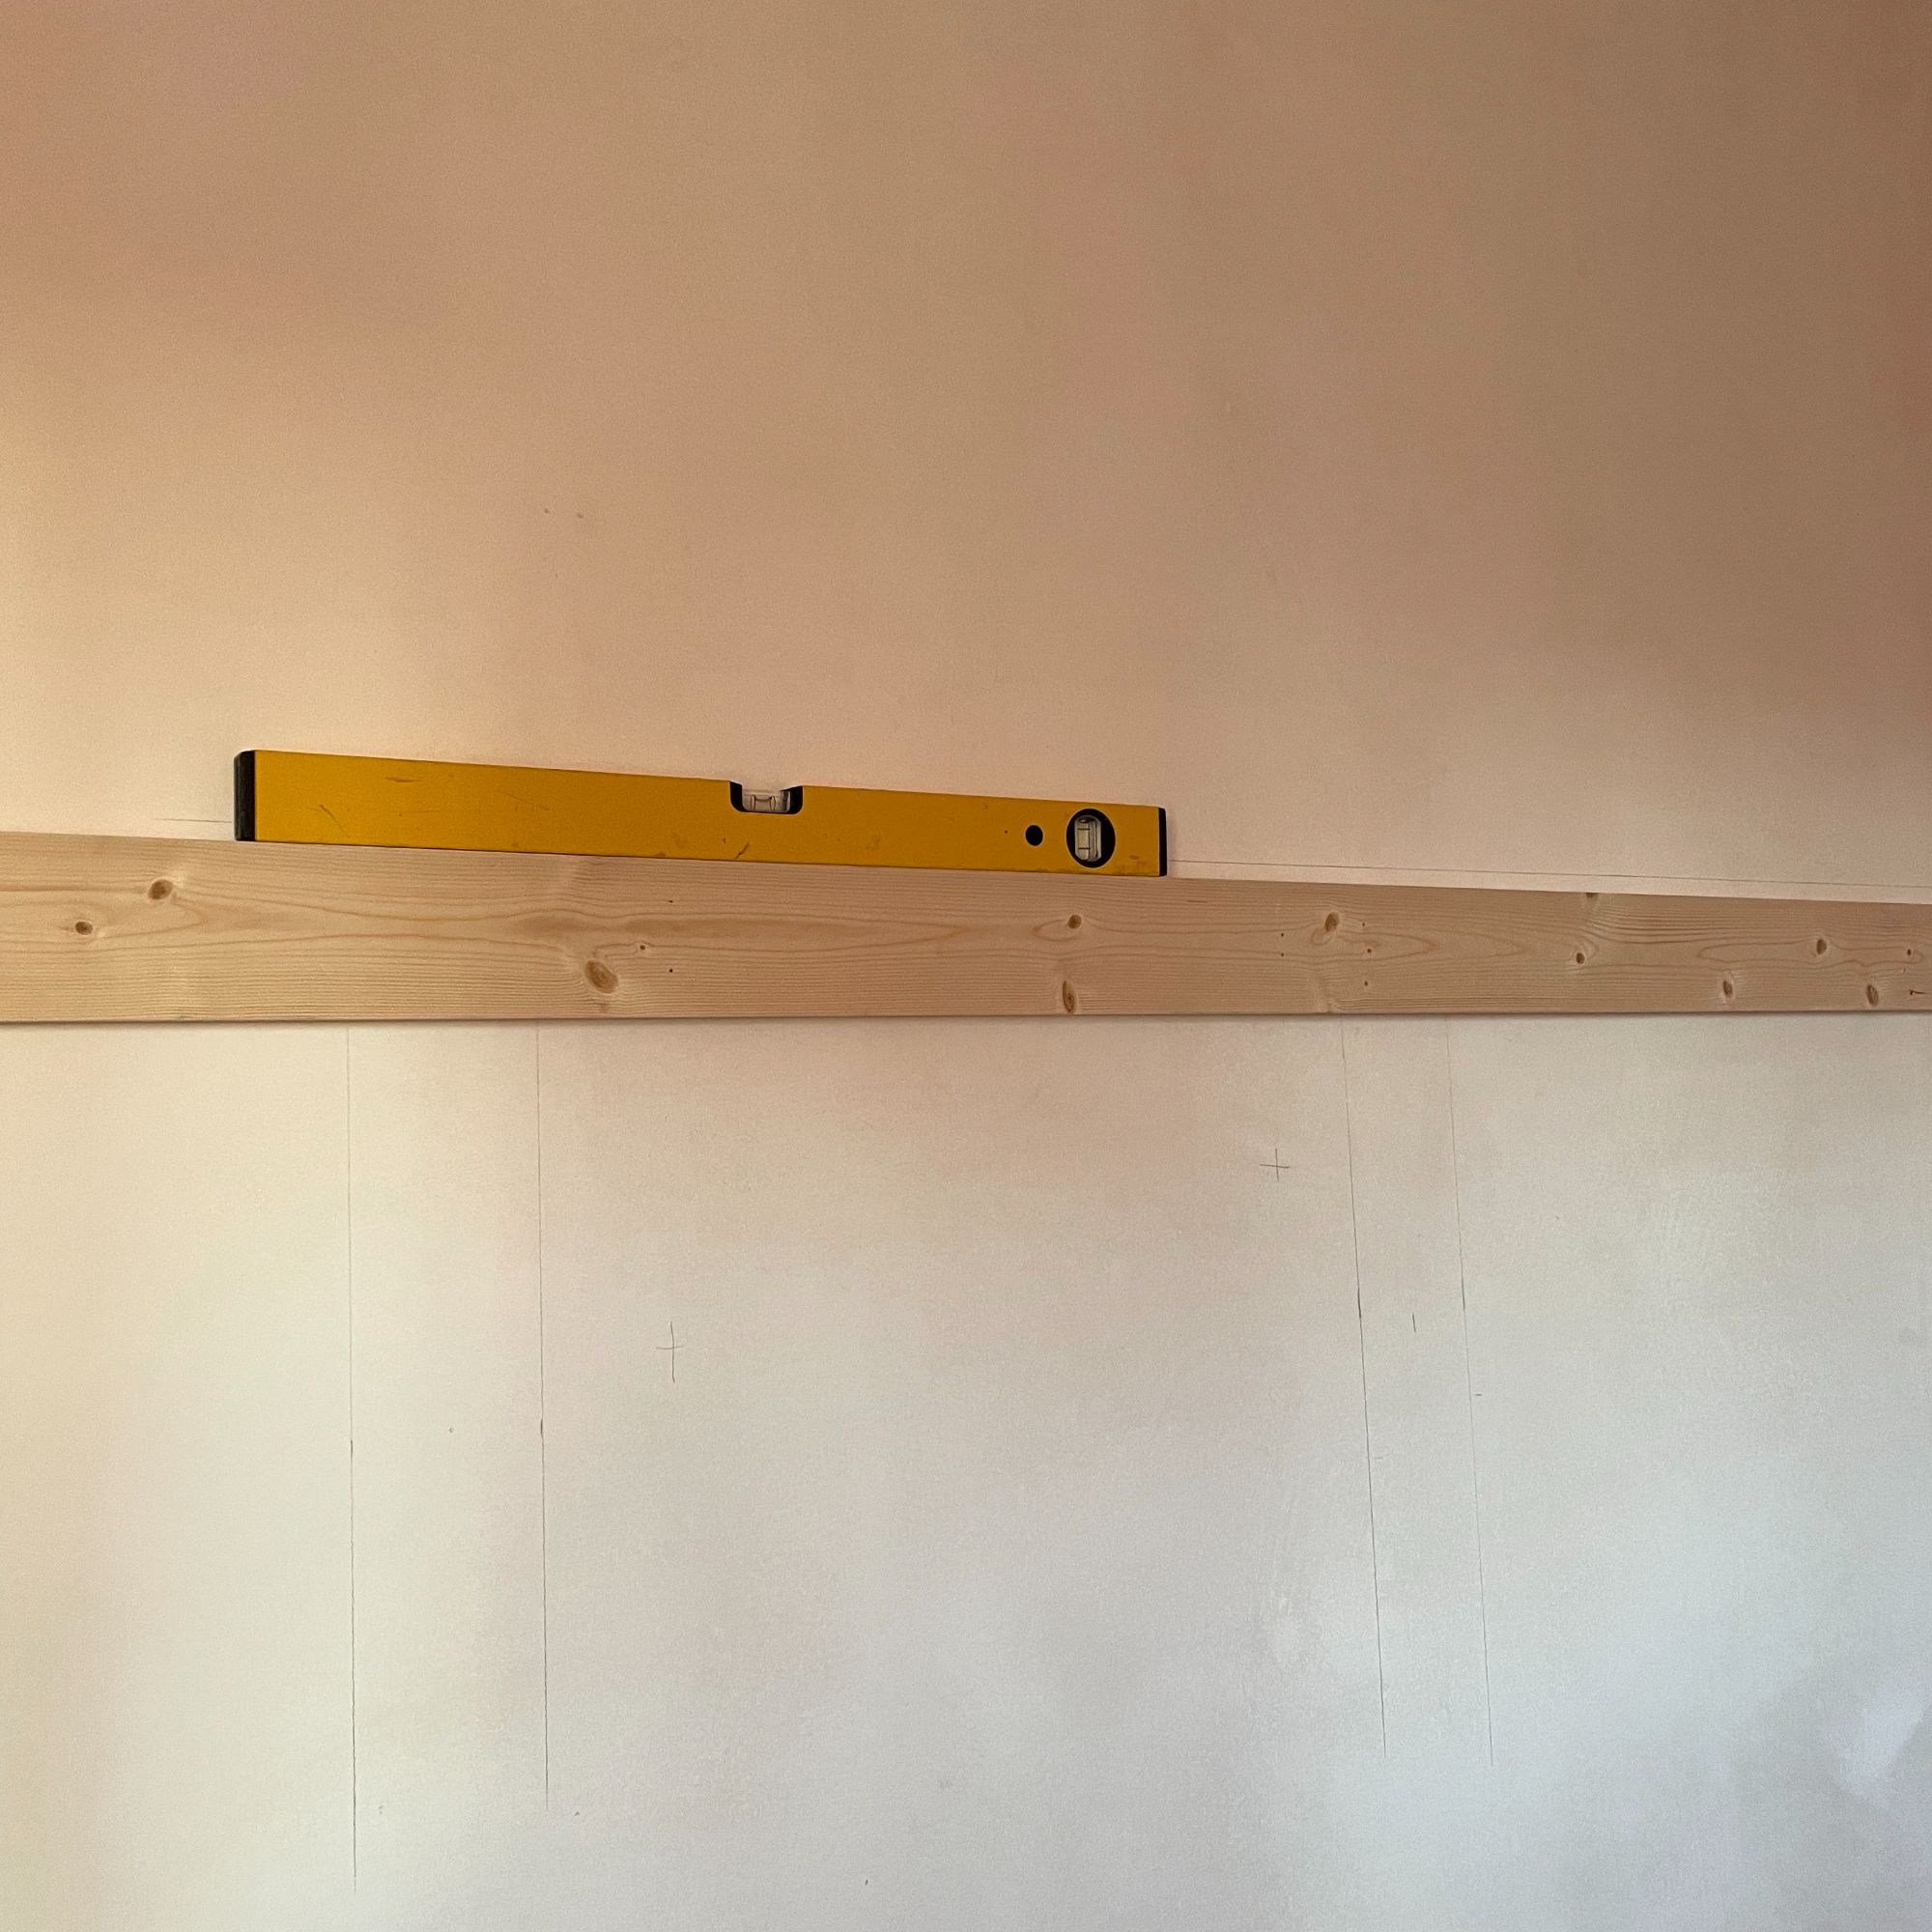
Firstly, I cut the horizontal planks and glued and nailed them into place - double-checking with a spirit level. Then I started on the vertical planks. I had already measured the centre of the wall and decided on how many planks and how far apart they needed to be (don't be afraid to mark the wall as a guide). Some of my vertical planks didn't quite fit and I realised that my skirting board was not precisely level. I had to cut/sand some of the planks to fit them into place, but that didn't matter as long as the horizontal plank was level. I then applied caulk to all the seams where the wood met the wall and filled nail holes with wood filler.
I painted the rest of the room with leftover paint that I like from another room. It's called Mucky Swan by Colourtrend and is light beige colour with a slight grey undertone (no yellows). As I work and surround myself with colour every day, my house is quite the opposite and is a very neutral and relaxing palette - which is ideal because it's a bit of a mad house at the best of times.
I applied 3 coats of emulsion to the walls (sometimes 2 is enough, but I felt I could see a pink tinge in places), leaving the panelled section alone. Don't be worried if you get a little emulsion on the skirting boards as these will be repainted at the end anyway. Also, don't be afraid to paint your radiators. Specialist paint is not required for this and I've been painting mine with the same emulsion that I use on the walls for the last 20 years and never had issues with peeling or cracking.
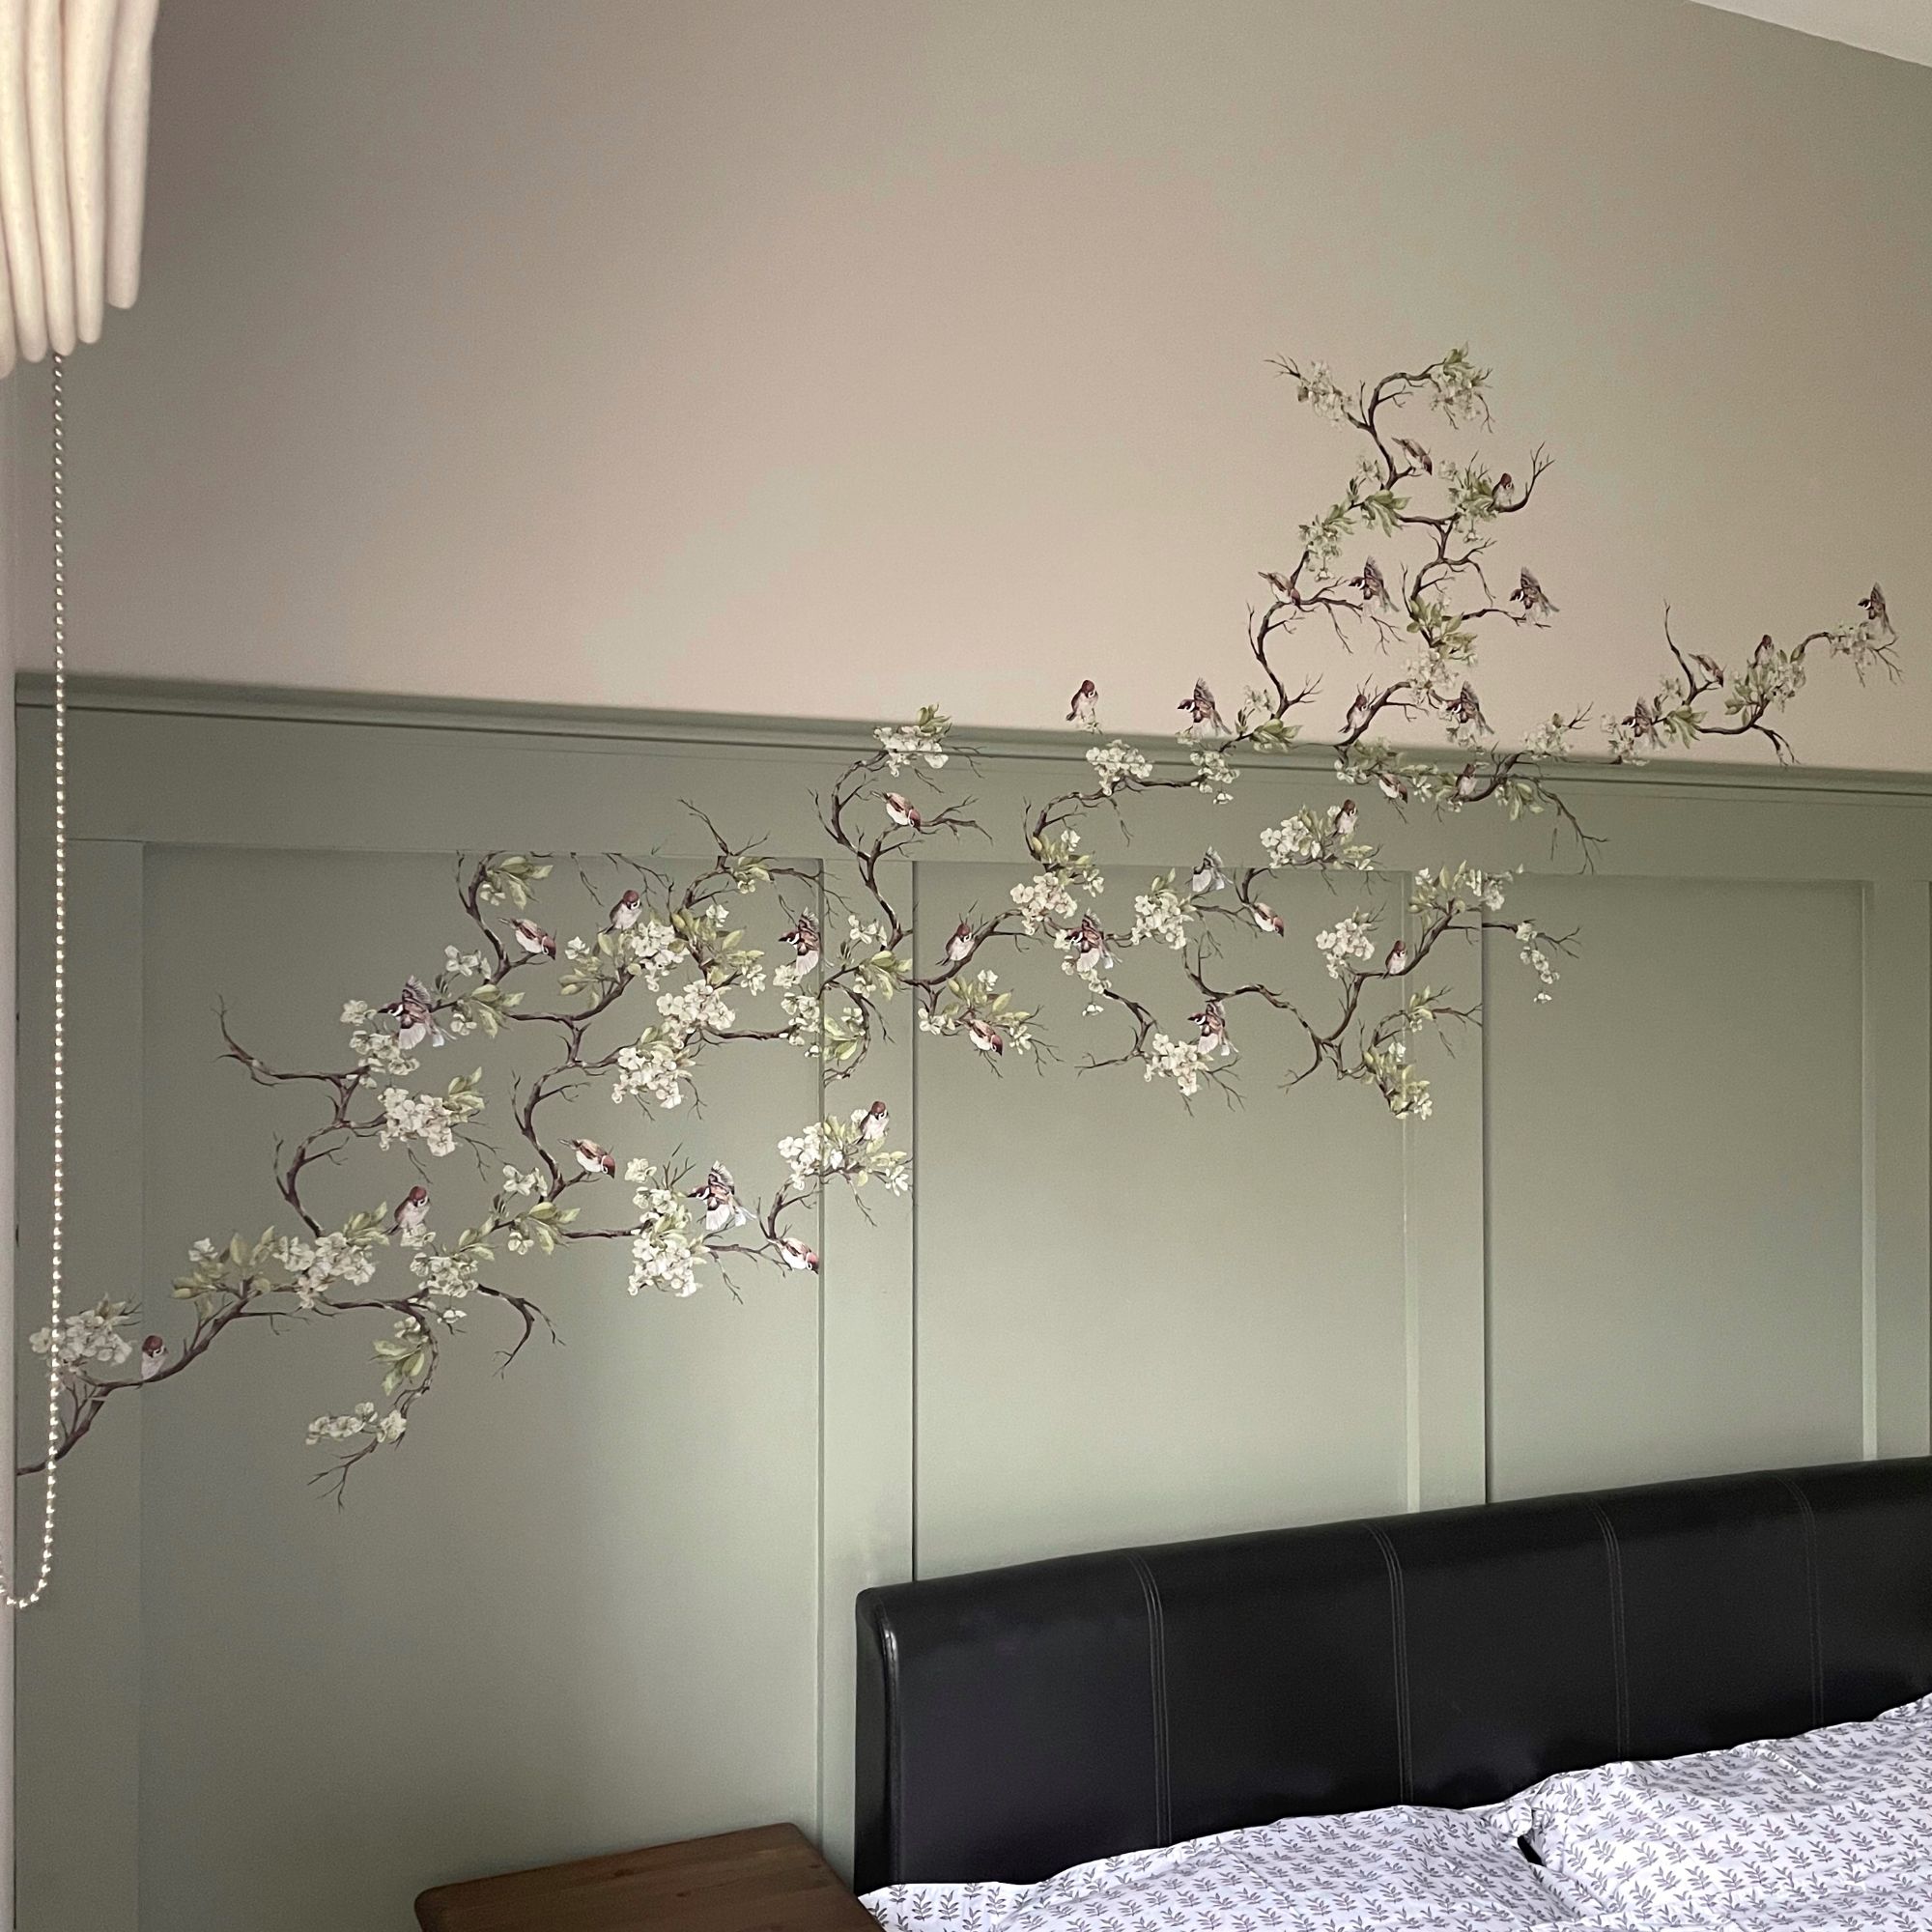
I chose Fusion Mineral Paint in Bellwood for my feature wall/panelling and applied it with a Semi Smooth mini roller and a brush for hard to reach areas/corners. I also painted the skirting on this wall so that it looked like part of the panelling itself. I also wanted to add a bit of beading to the top of the panelling so painted this before gluing it into place for a perfectly neat line on top (if you're tall enough to see that part).
Then I decided to repaint the woodwork as this is my least favourite job. The current colour was Aged White and was probably an oil based paint. My preference is now bright white again as I feel it gives a fresh, crisp finish. Always choose a water-based white for your woodwork, contrary to what anyone else tells you. Water-based whites will NOT yellow over time and are made to be just as durable as oil based paints - plus they will not smell your house out for days with toxic fumes.
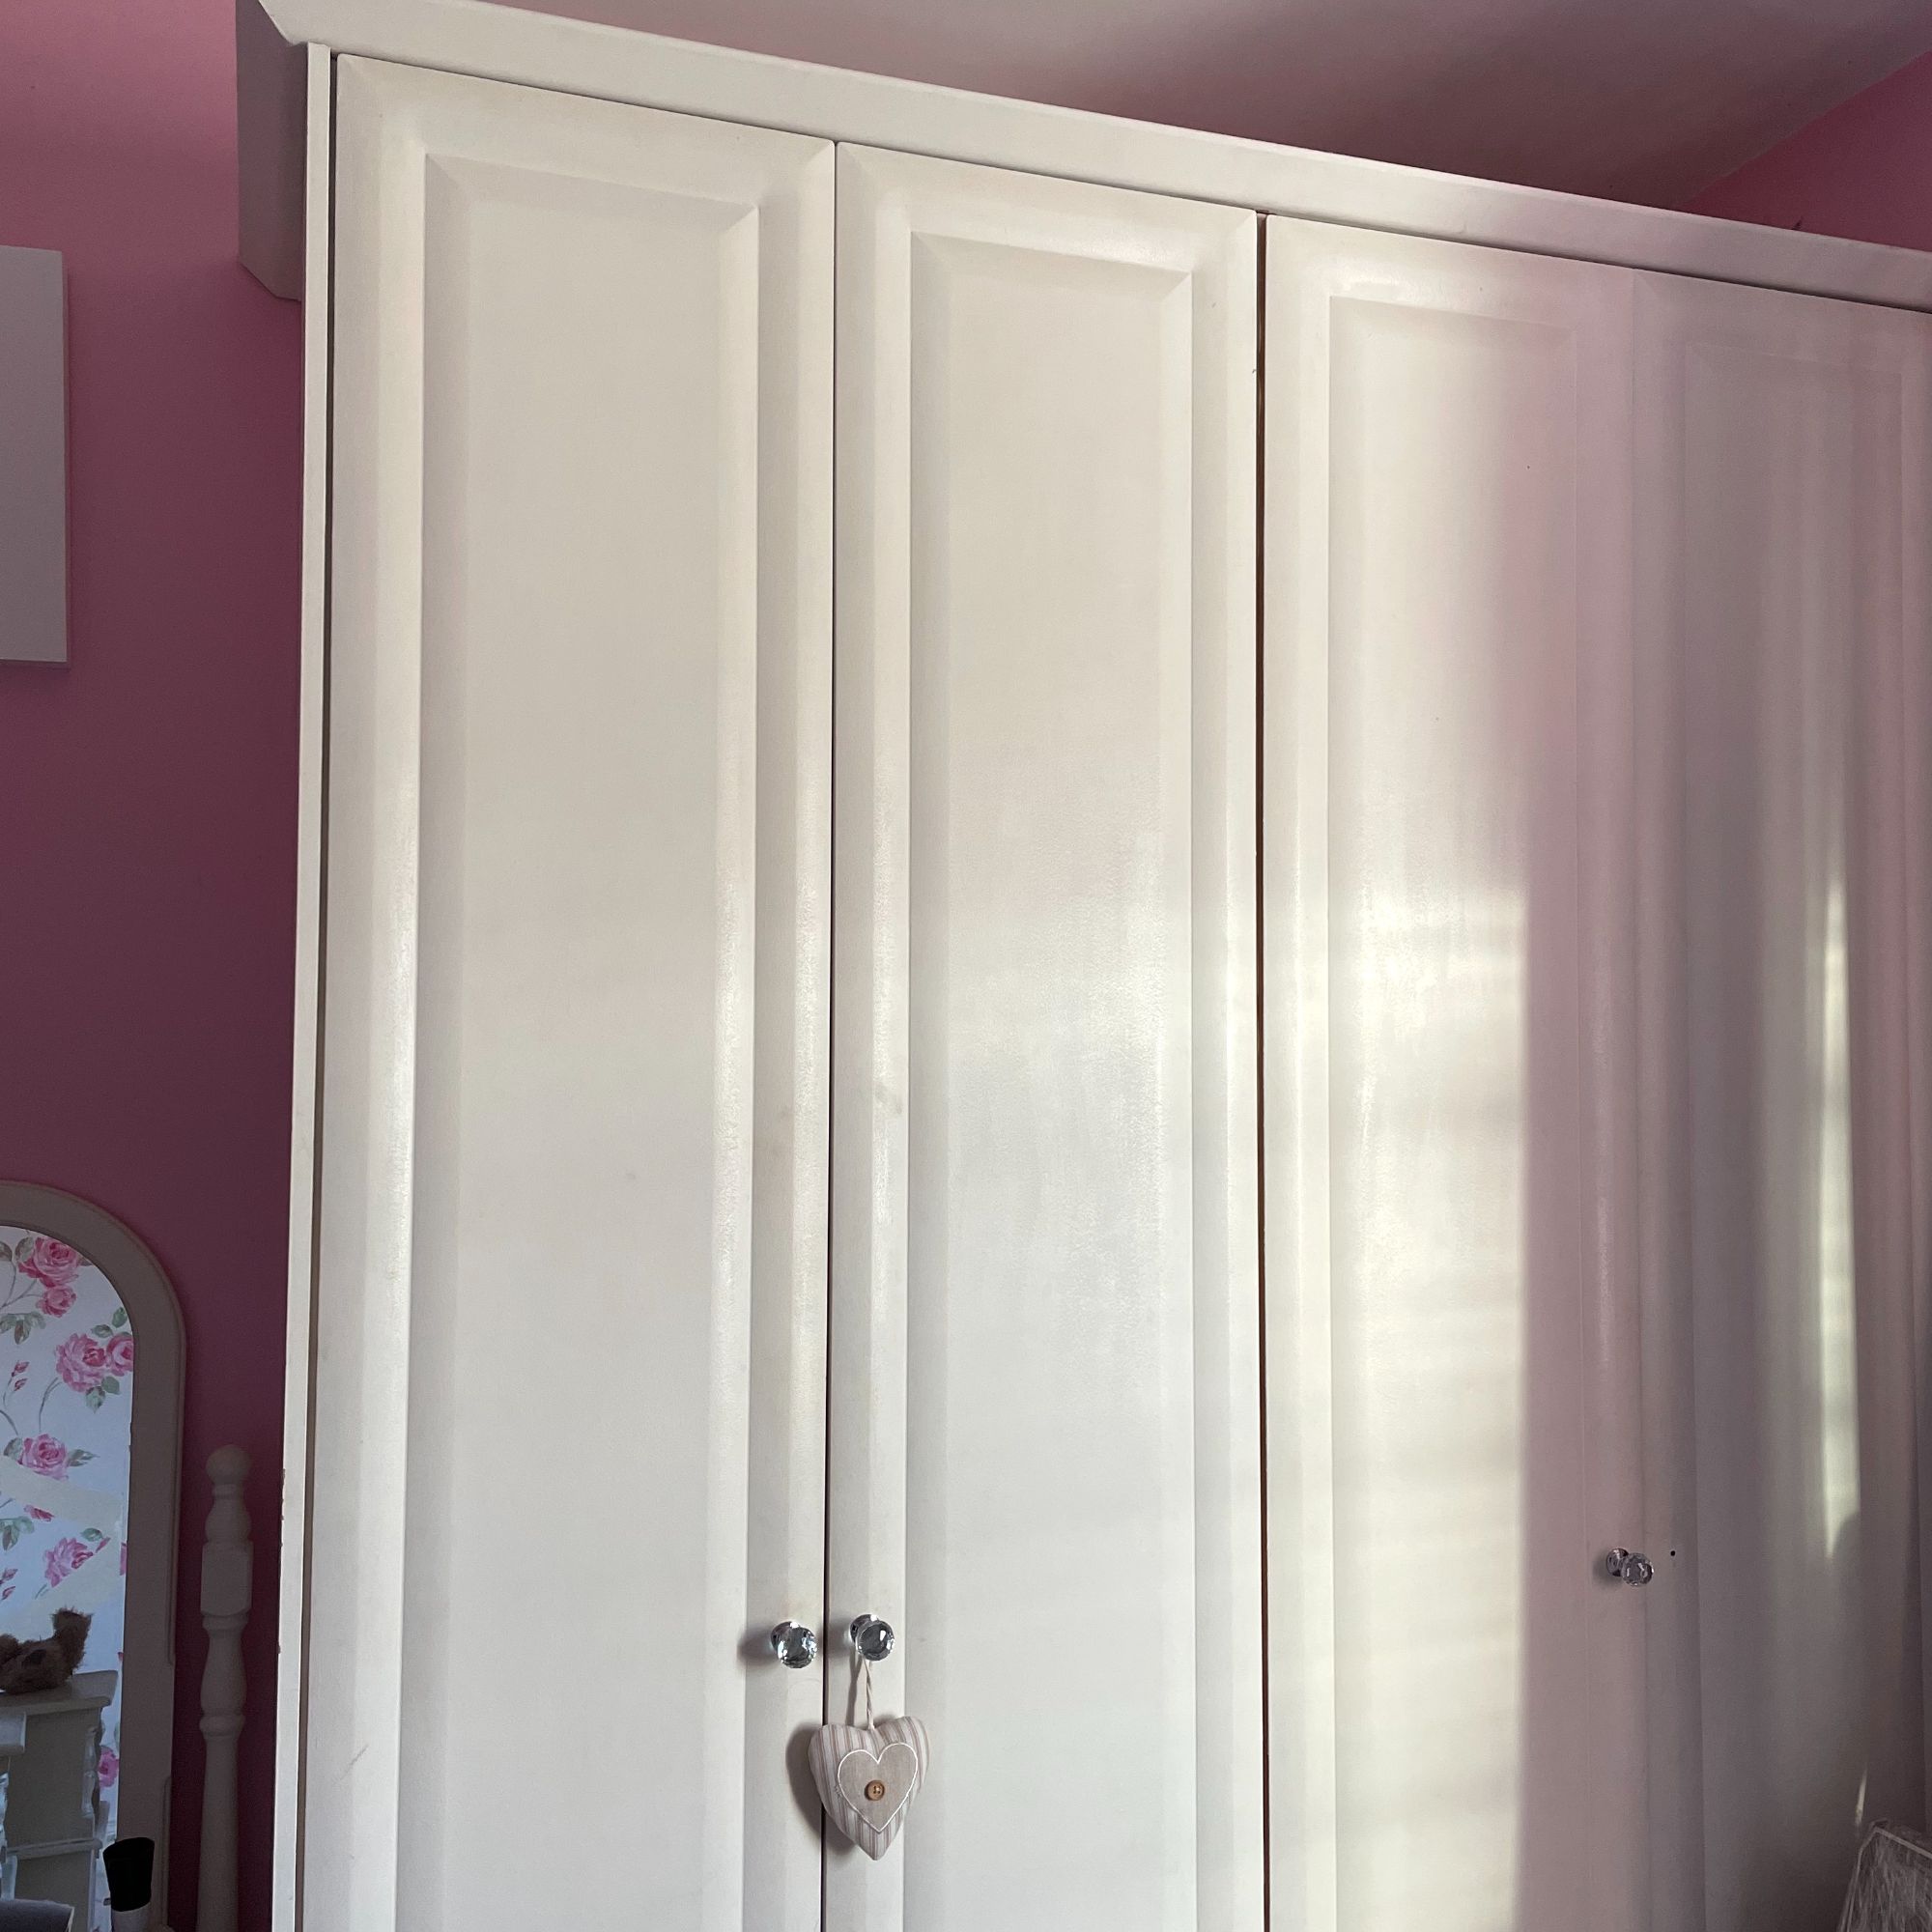
Last, but by no means least came the job of repainting the built in wardrobes. I chalk painted and waxed these about 10 years ago and they were always grubby looking and hard to clean. They are laminate on MDF so I had the task of either removing the wax or removing the laminate, so I chose the latter. Although the laminate was not coming away at the edges, once I manged to prize a corner away they came off in long, clean sheets - very therapeutic. I removed the doors and lay them flat. I could feel the glue residue on the MDF so I removed as much as I could with a paint scrapper and then scrubbed with acetone, finishing with some light sanding. IMPORTANT: When sanding MDF always make sure to wear a mask and ventilate the room if you do not have an electric sander with a professional extraction unit.
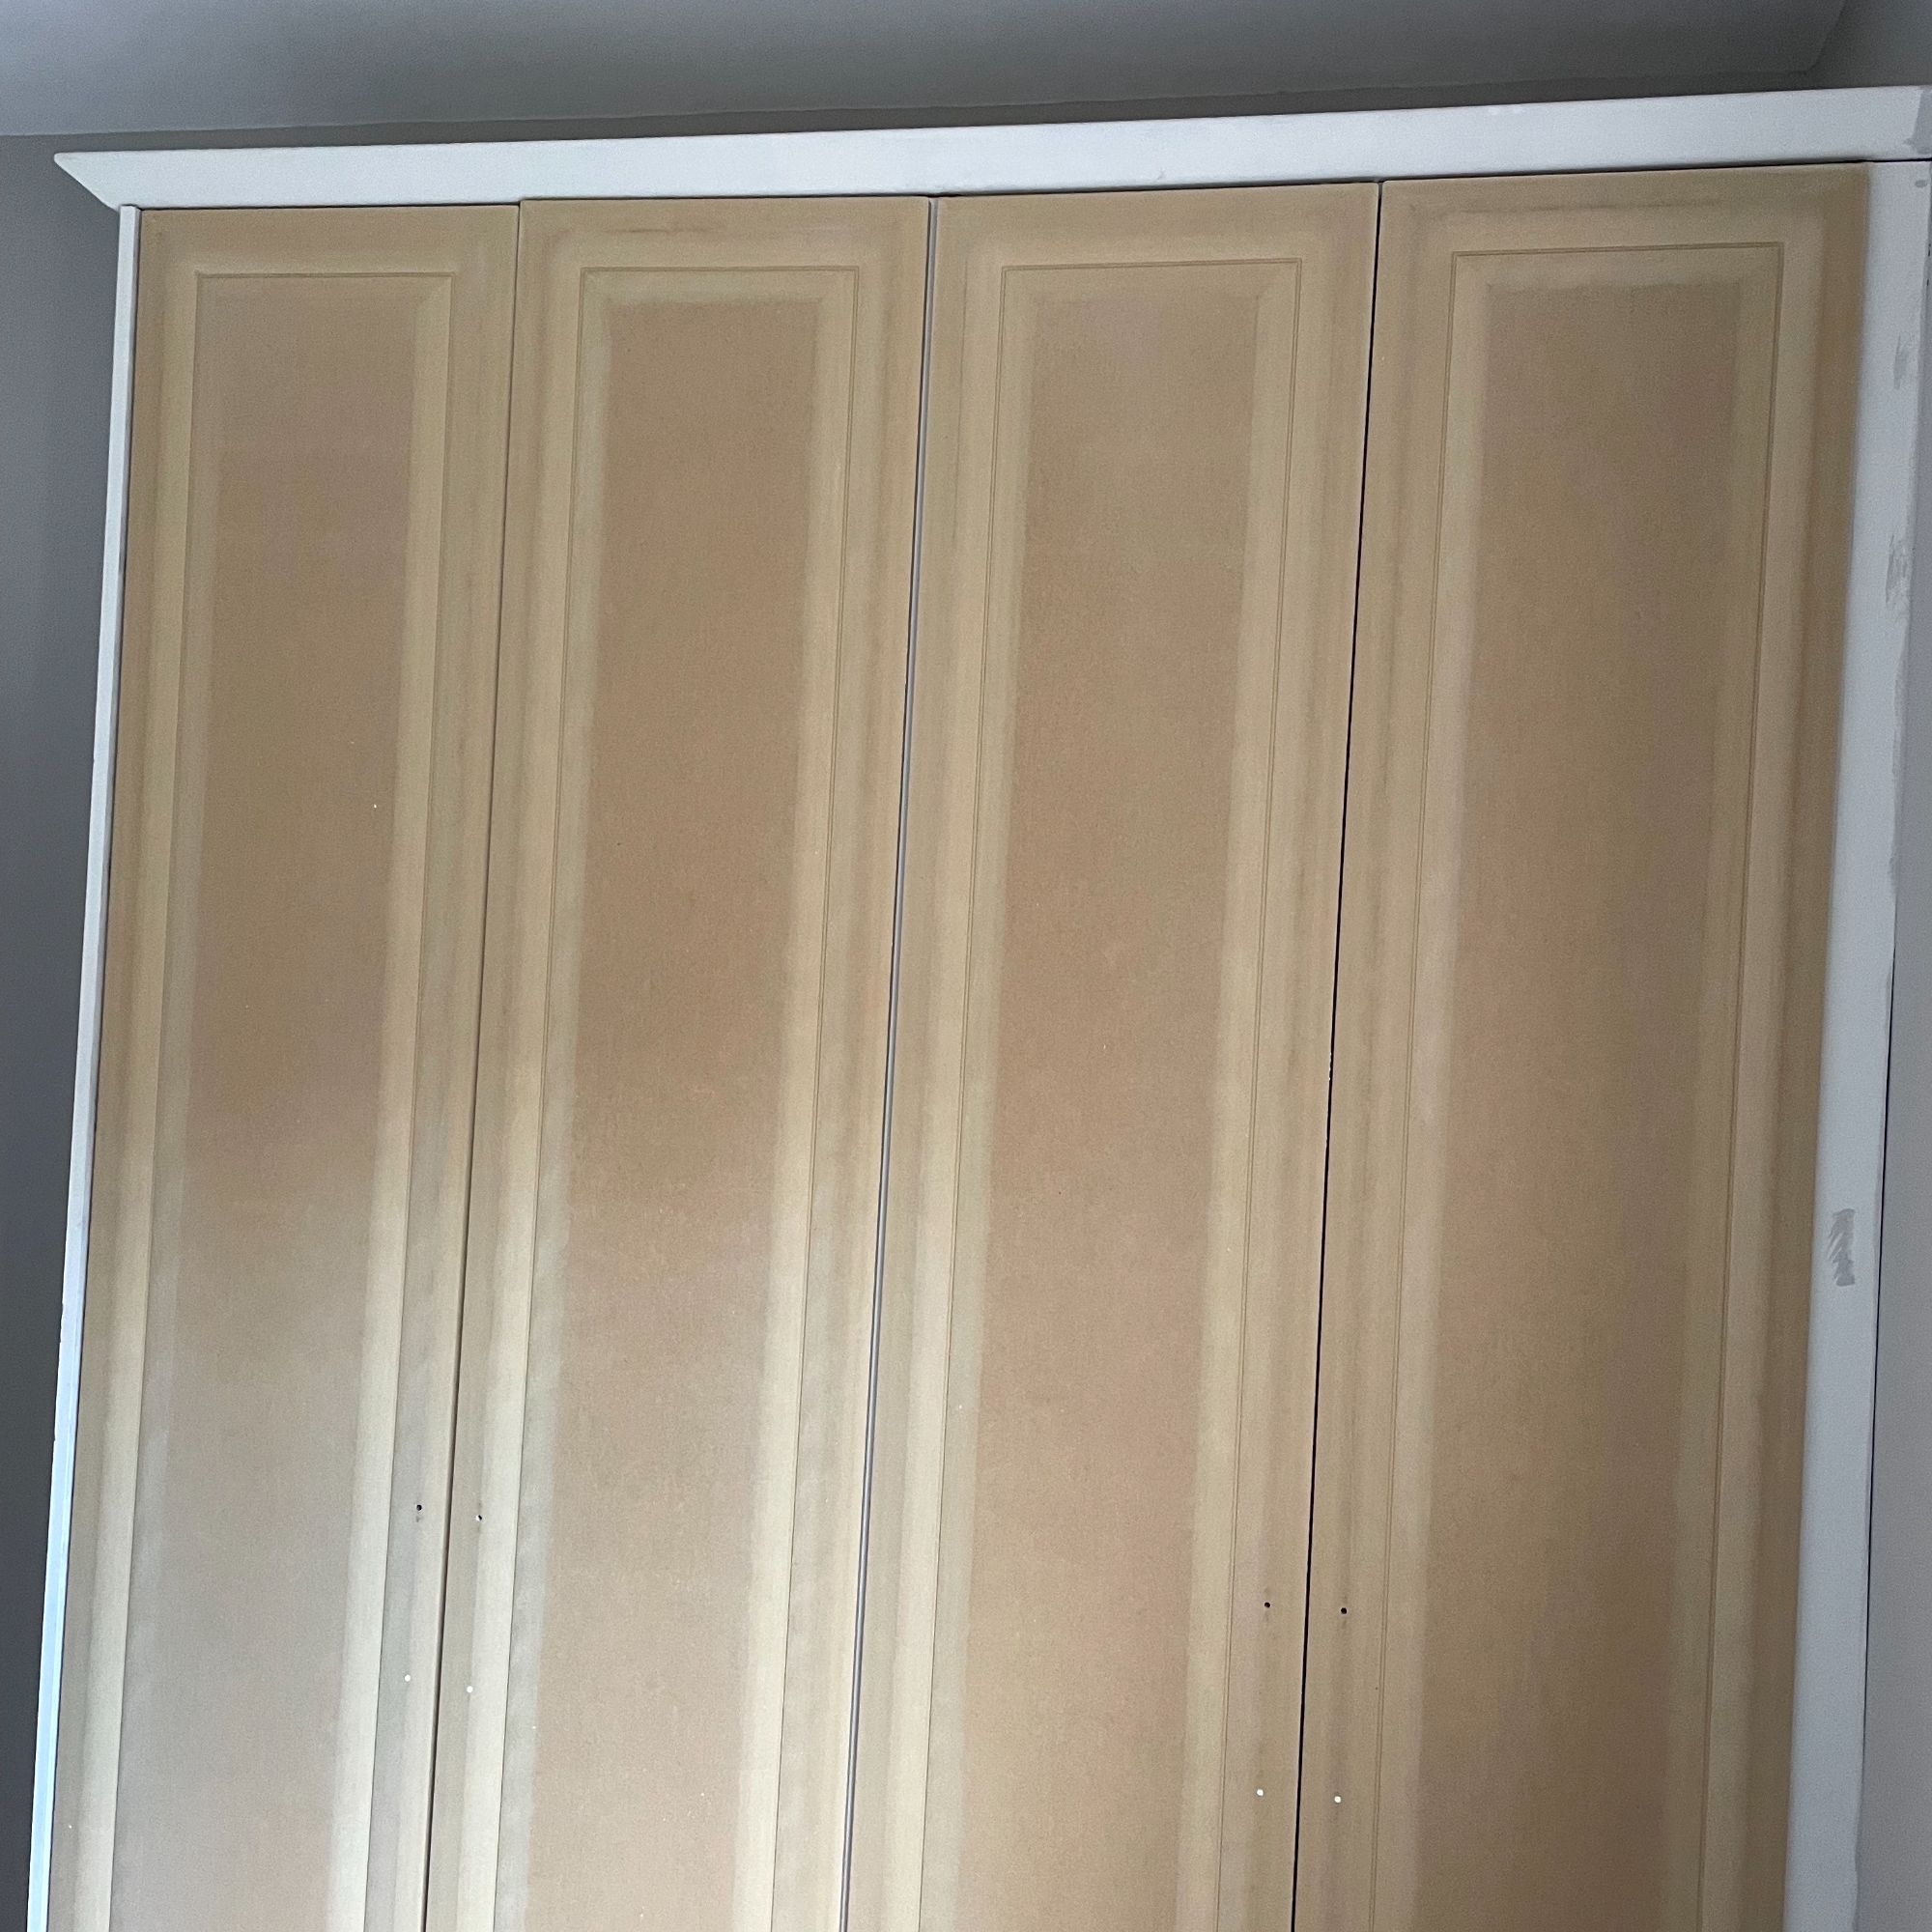
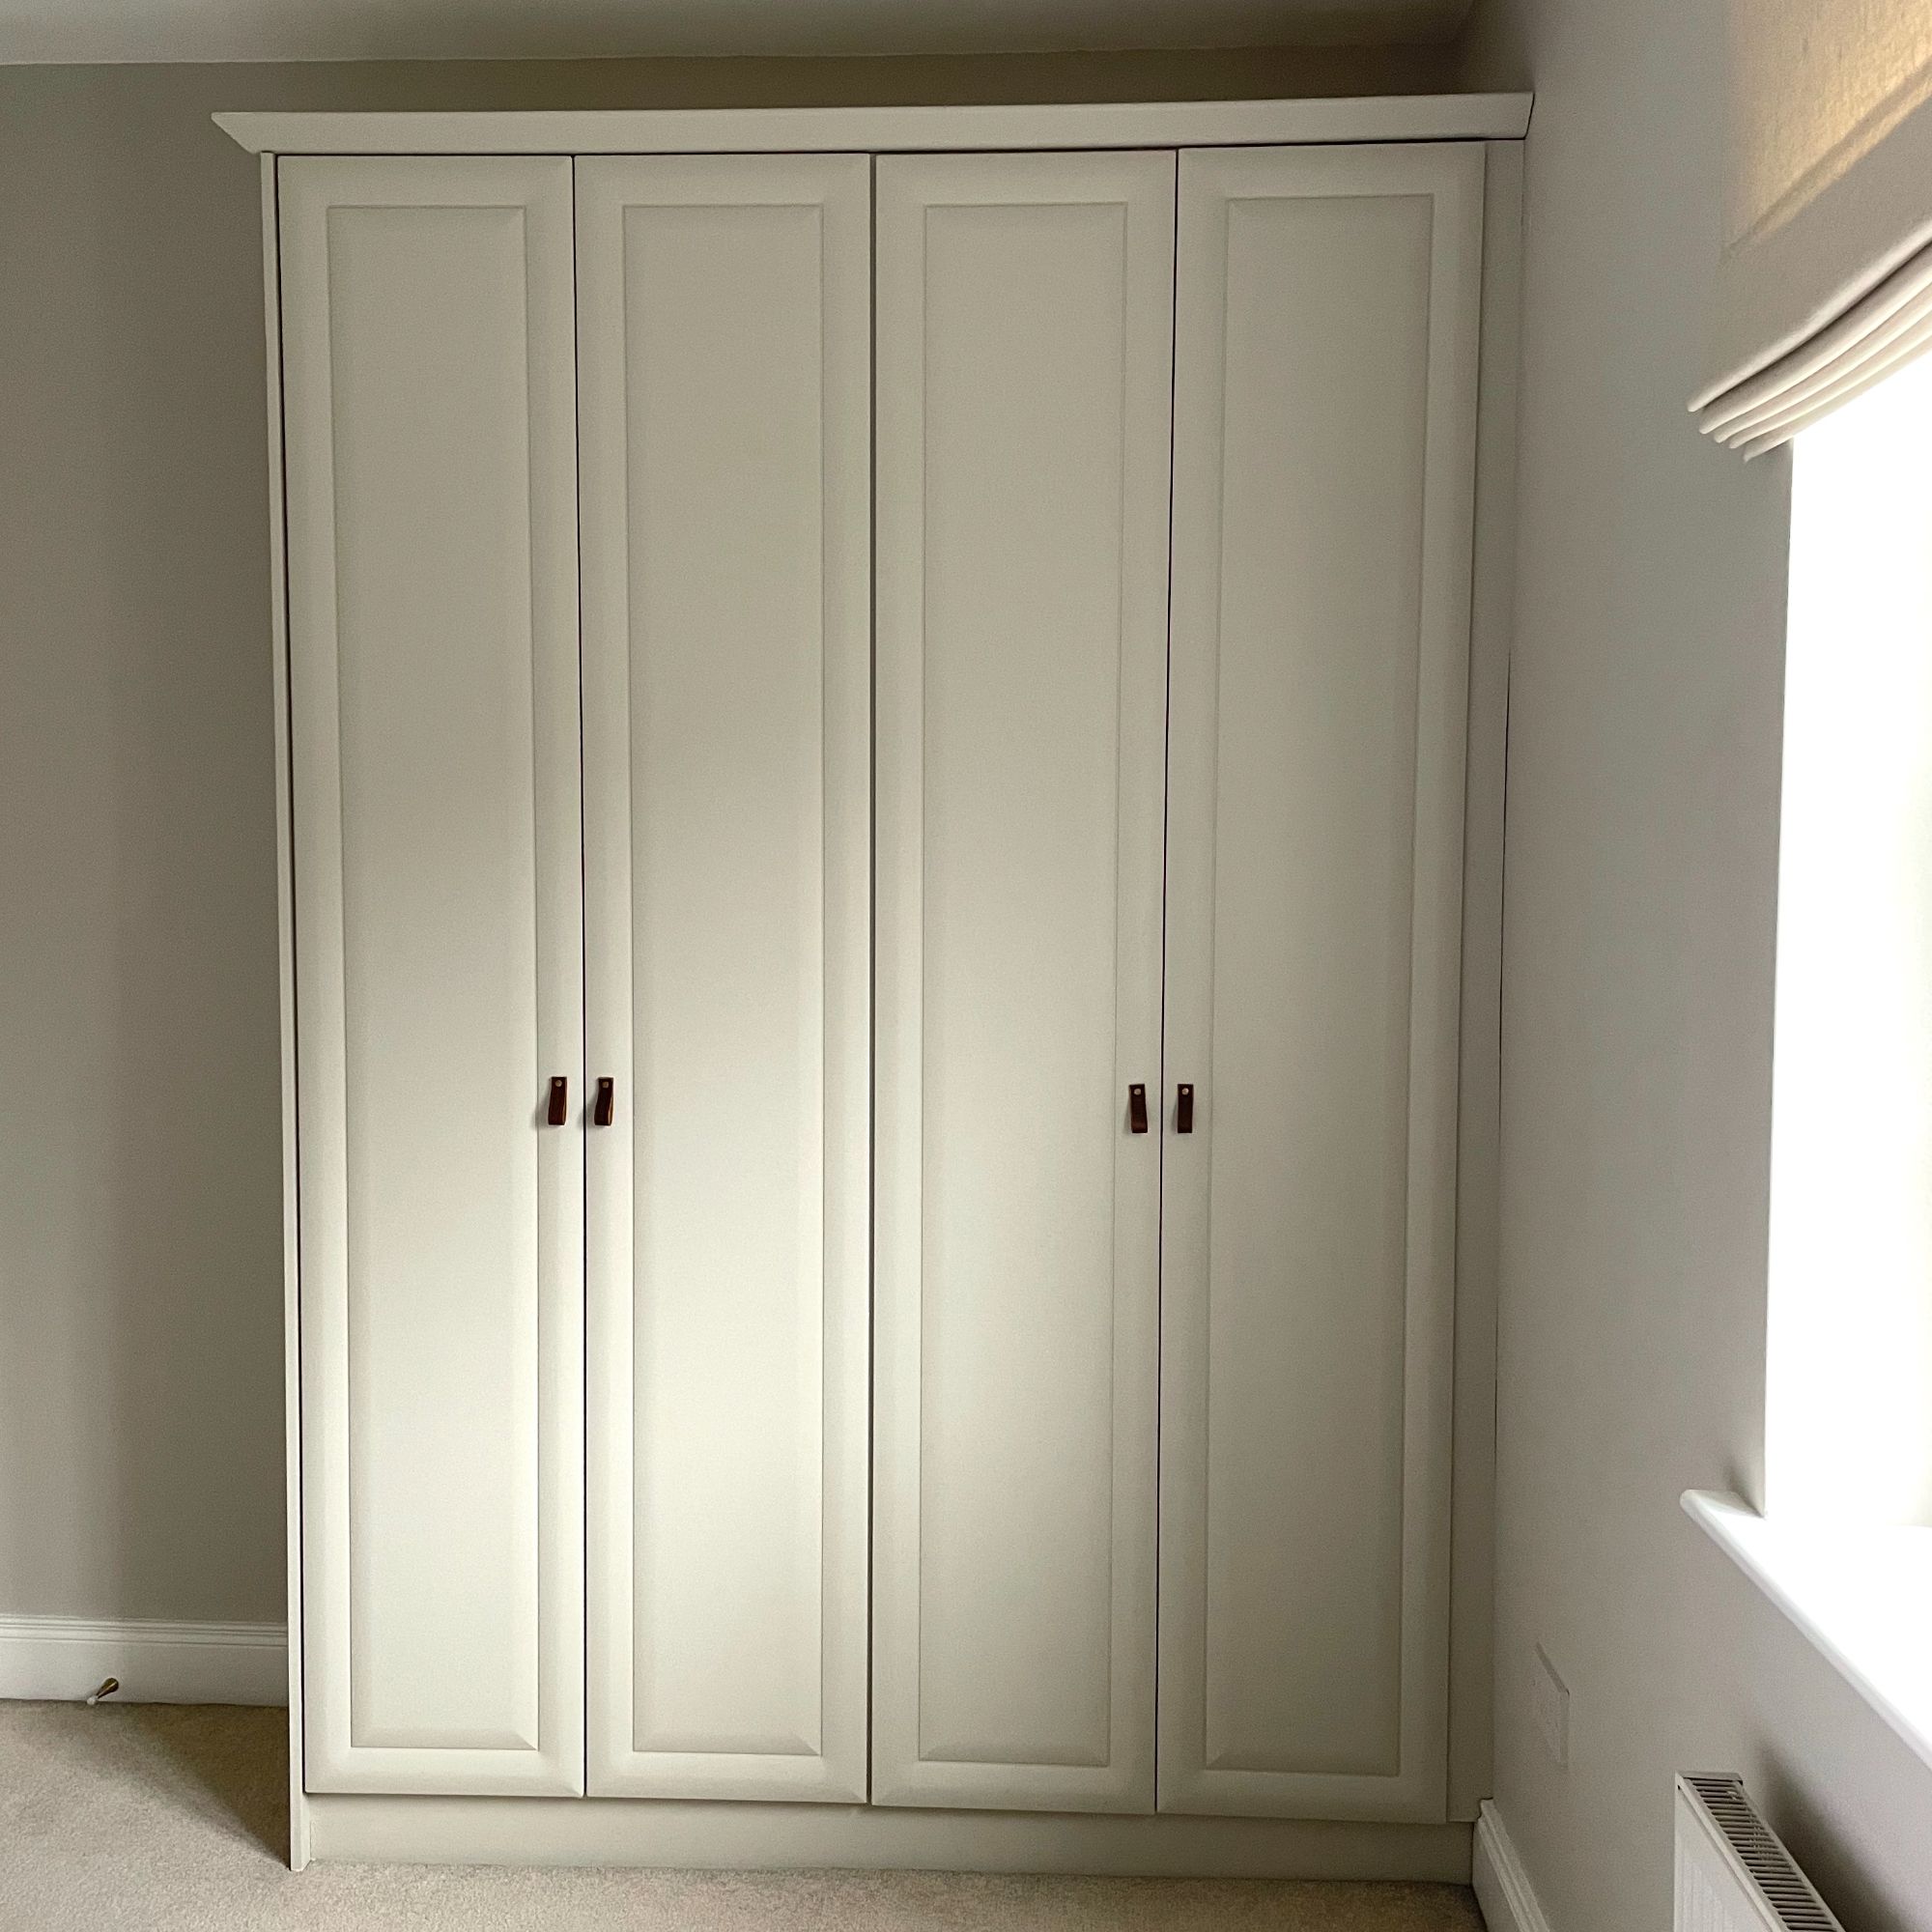
Starting with the inside of the doors I applied Fusion Mineral Paint in Chateau with a roller directly onto the MDF. After 2 coats I then did the front of the doors and the carcass, rehung them and added new hardware. When painting MDF without a primer, be mindful that the water-based paint will raise the wood fibres a little. Scuff sand with a high grit pad after the first coat to smooth out the fibres, wipe down and continue painting.
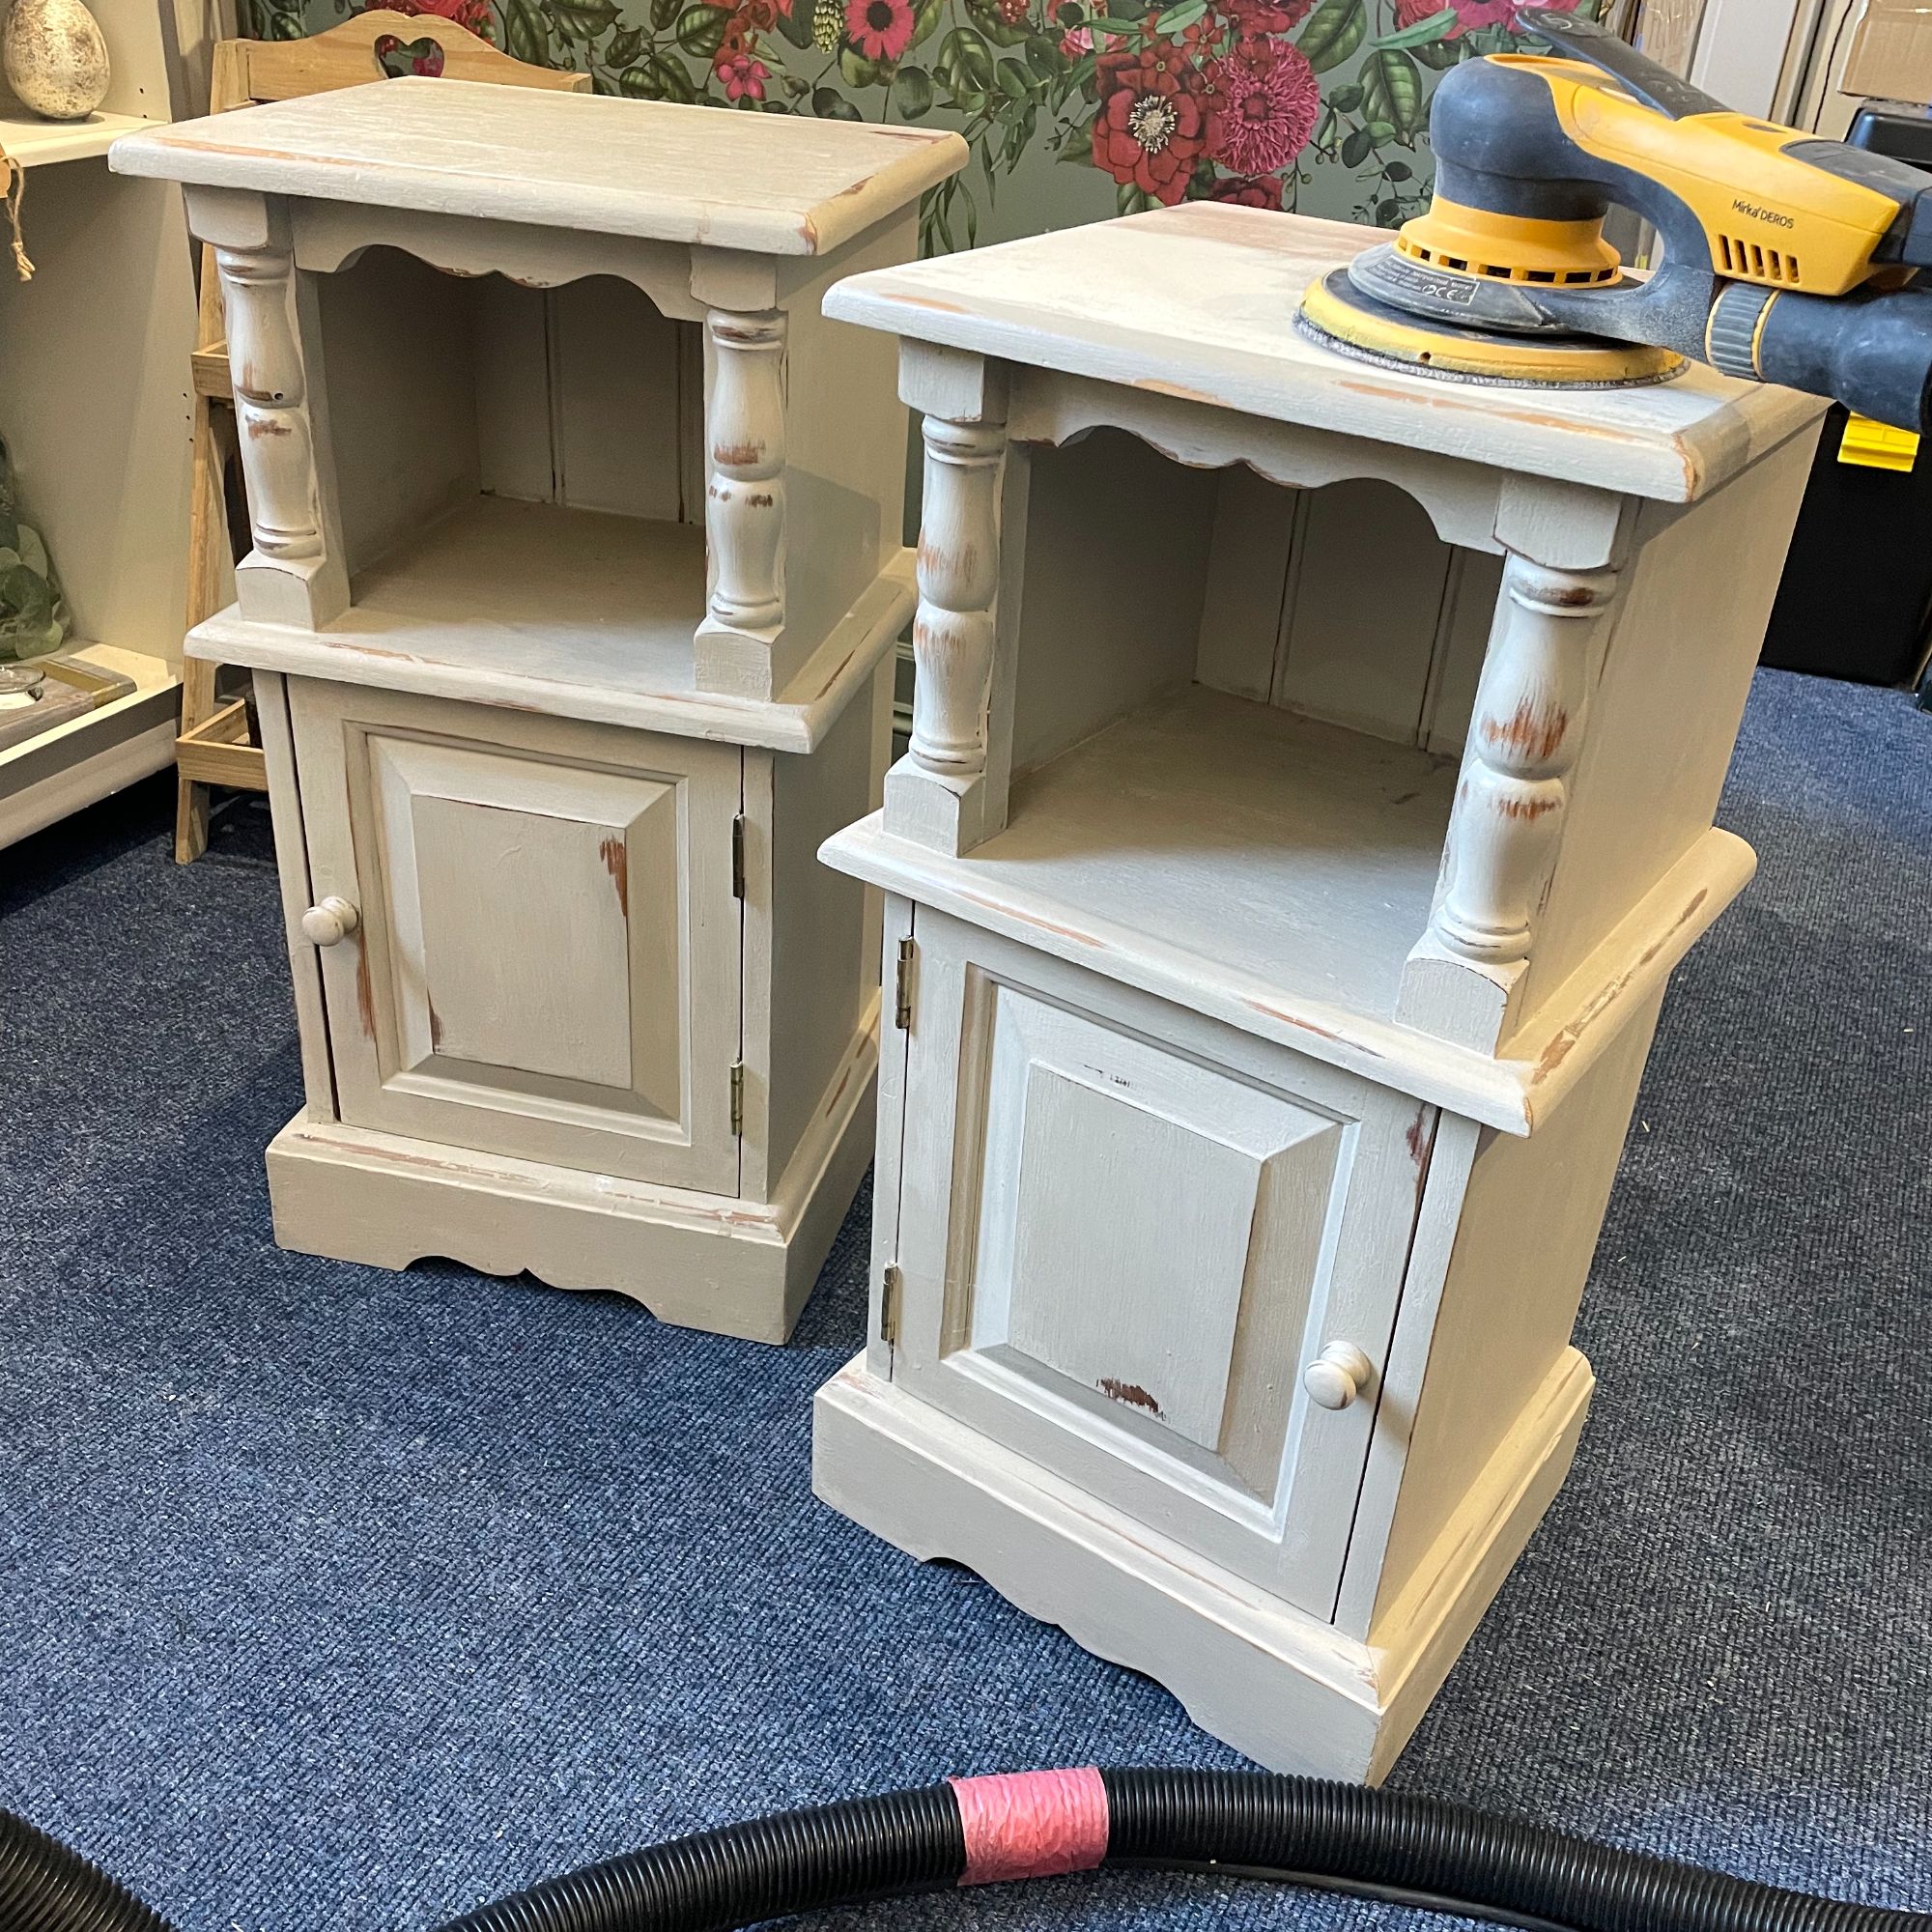
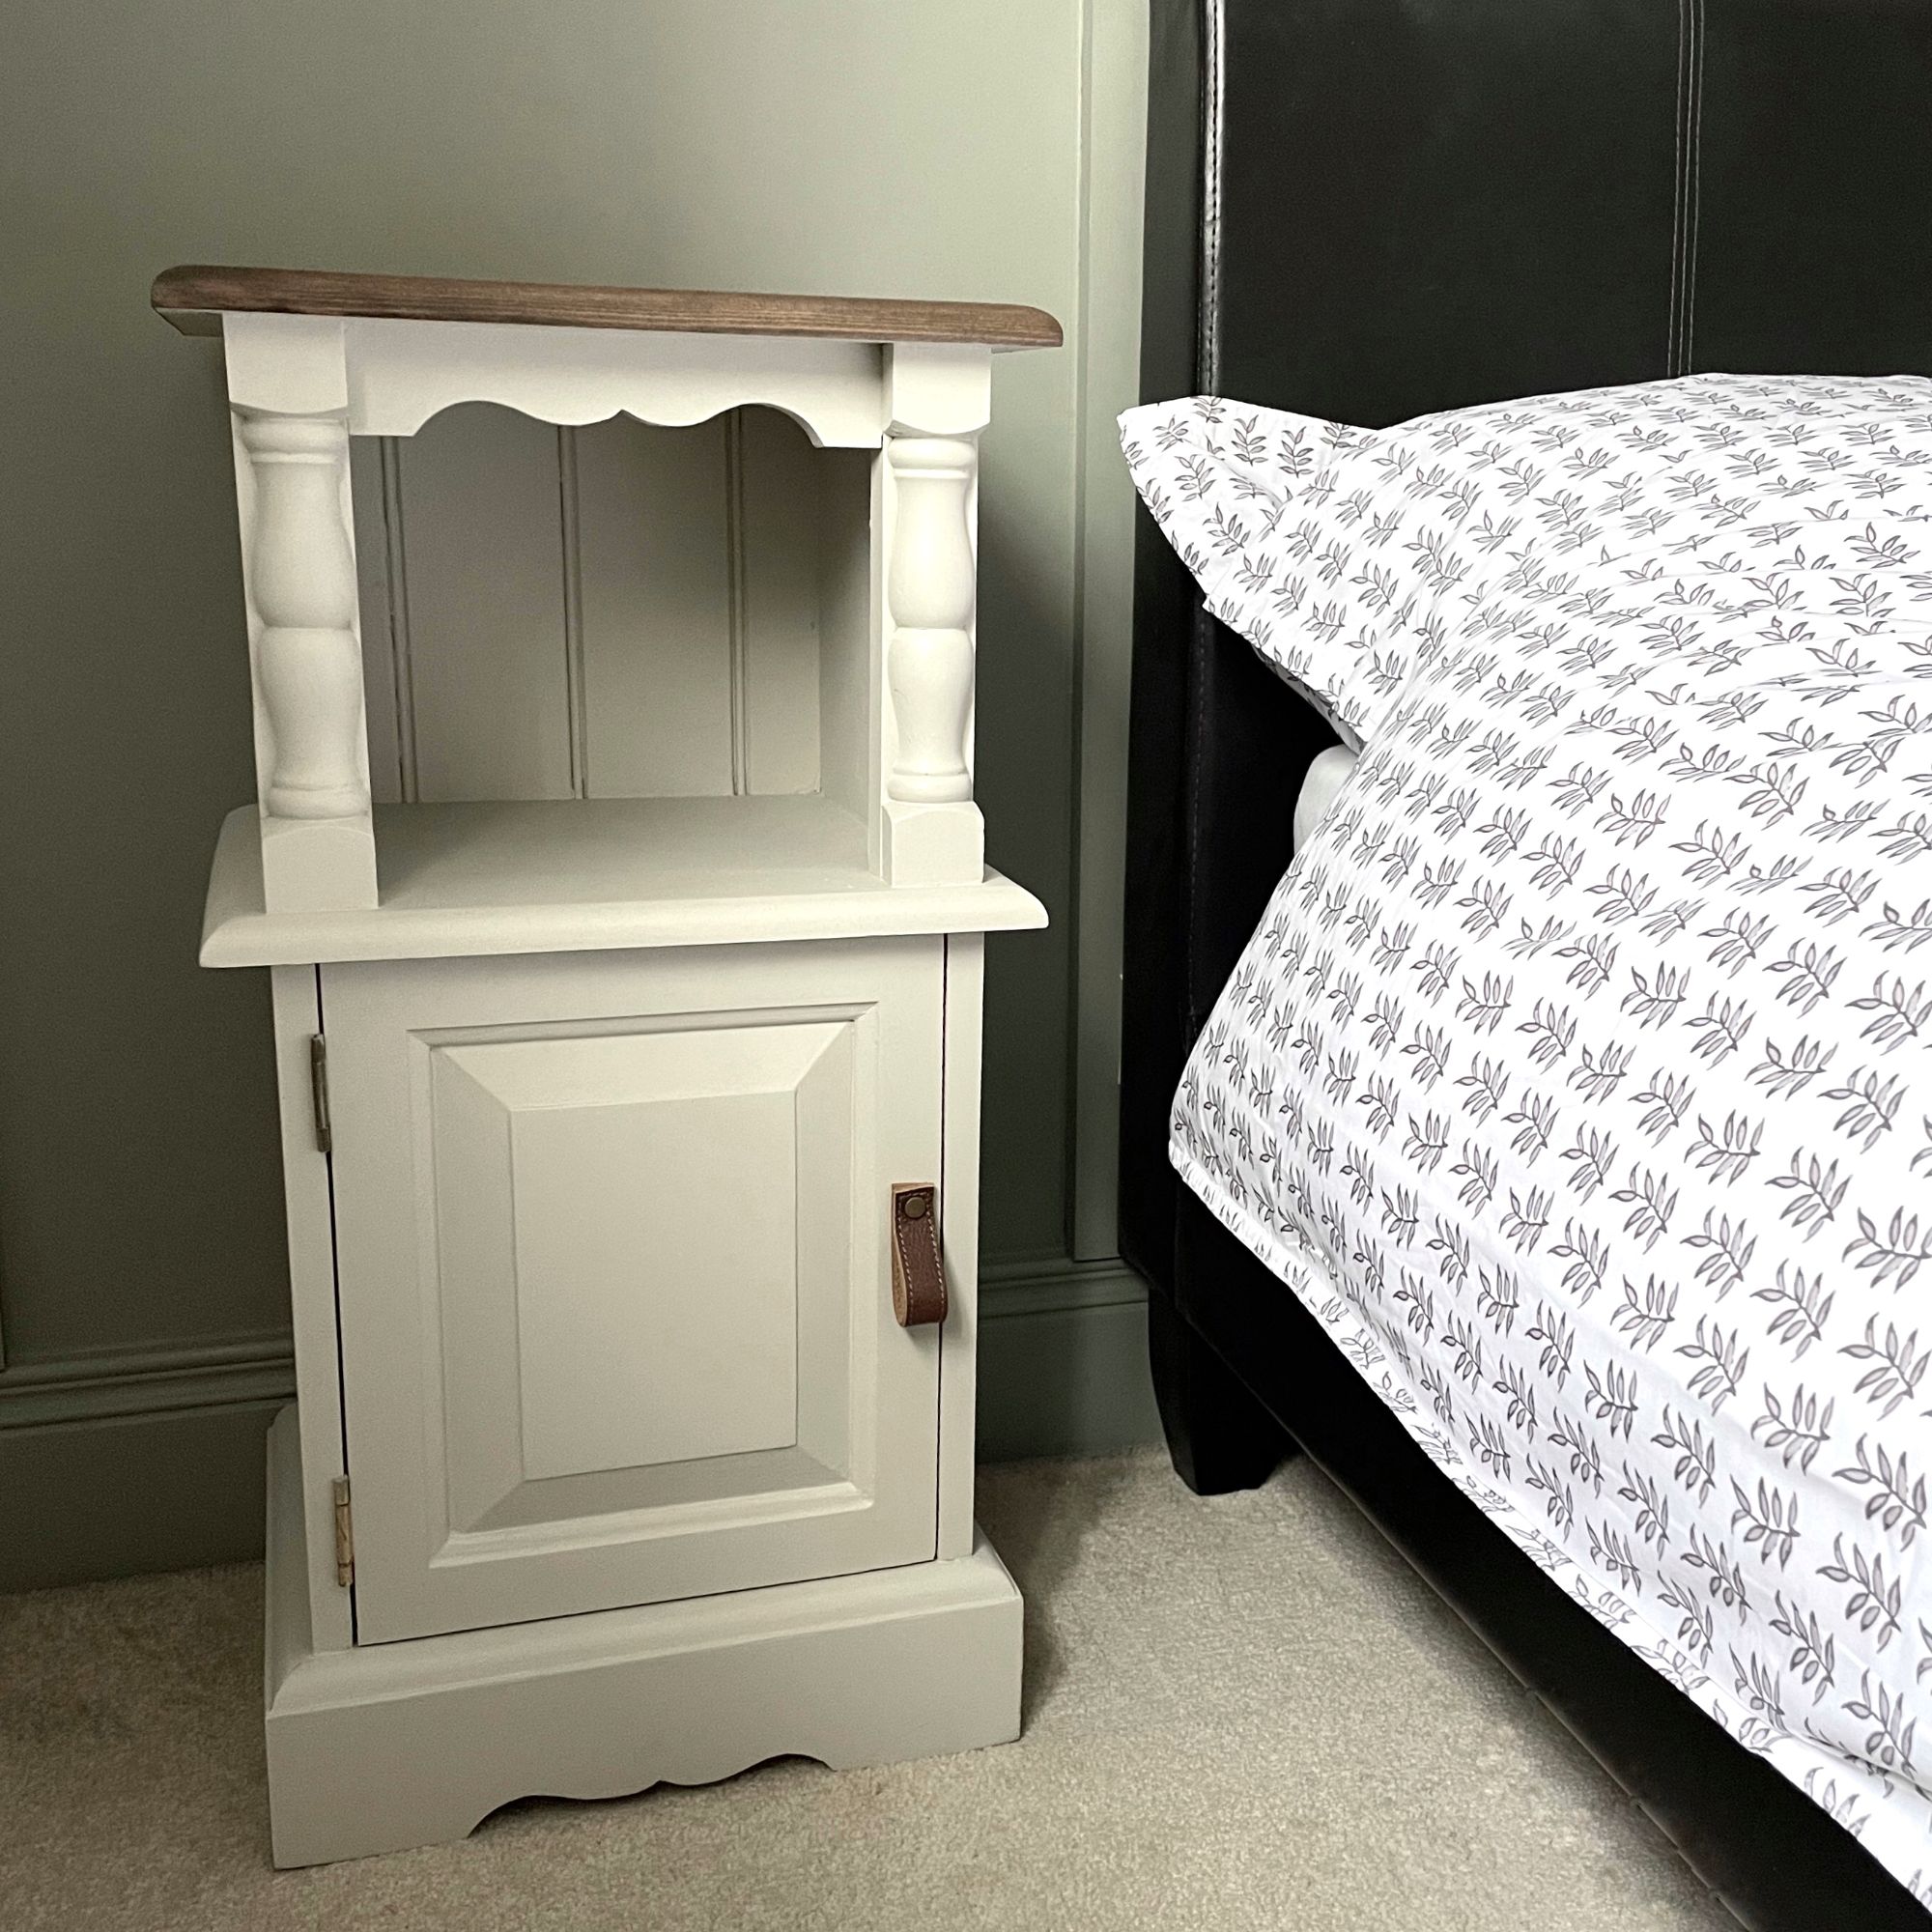
I almost forgot to mention the bedside lockers. These were also painted with chalk paint and waxed many years ago. As the wax had been on for years, I was able to sand it without clogging up my sanding discs. I sanded the tops down to raw pine and applied Stain and Finishing Oil in Cappuccino. The first coat was diluted with a few drops of White Spirits to help with application and monitor the absorption and depth of the colour. Still a bit too light, I added another coat of Cappuccino without the white spirits. Happy with the shade, I did a final coat of Clear SFO for top notch durability. The body of each locker was finished in Chateau to match the wardrobes.
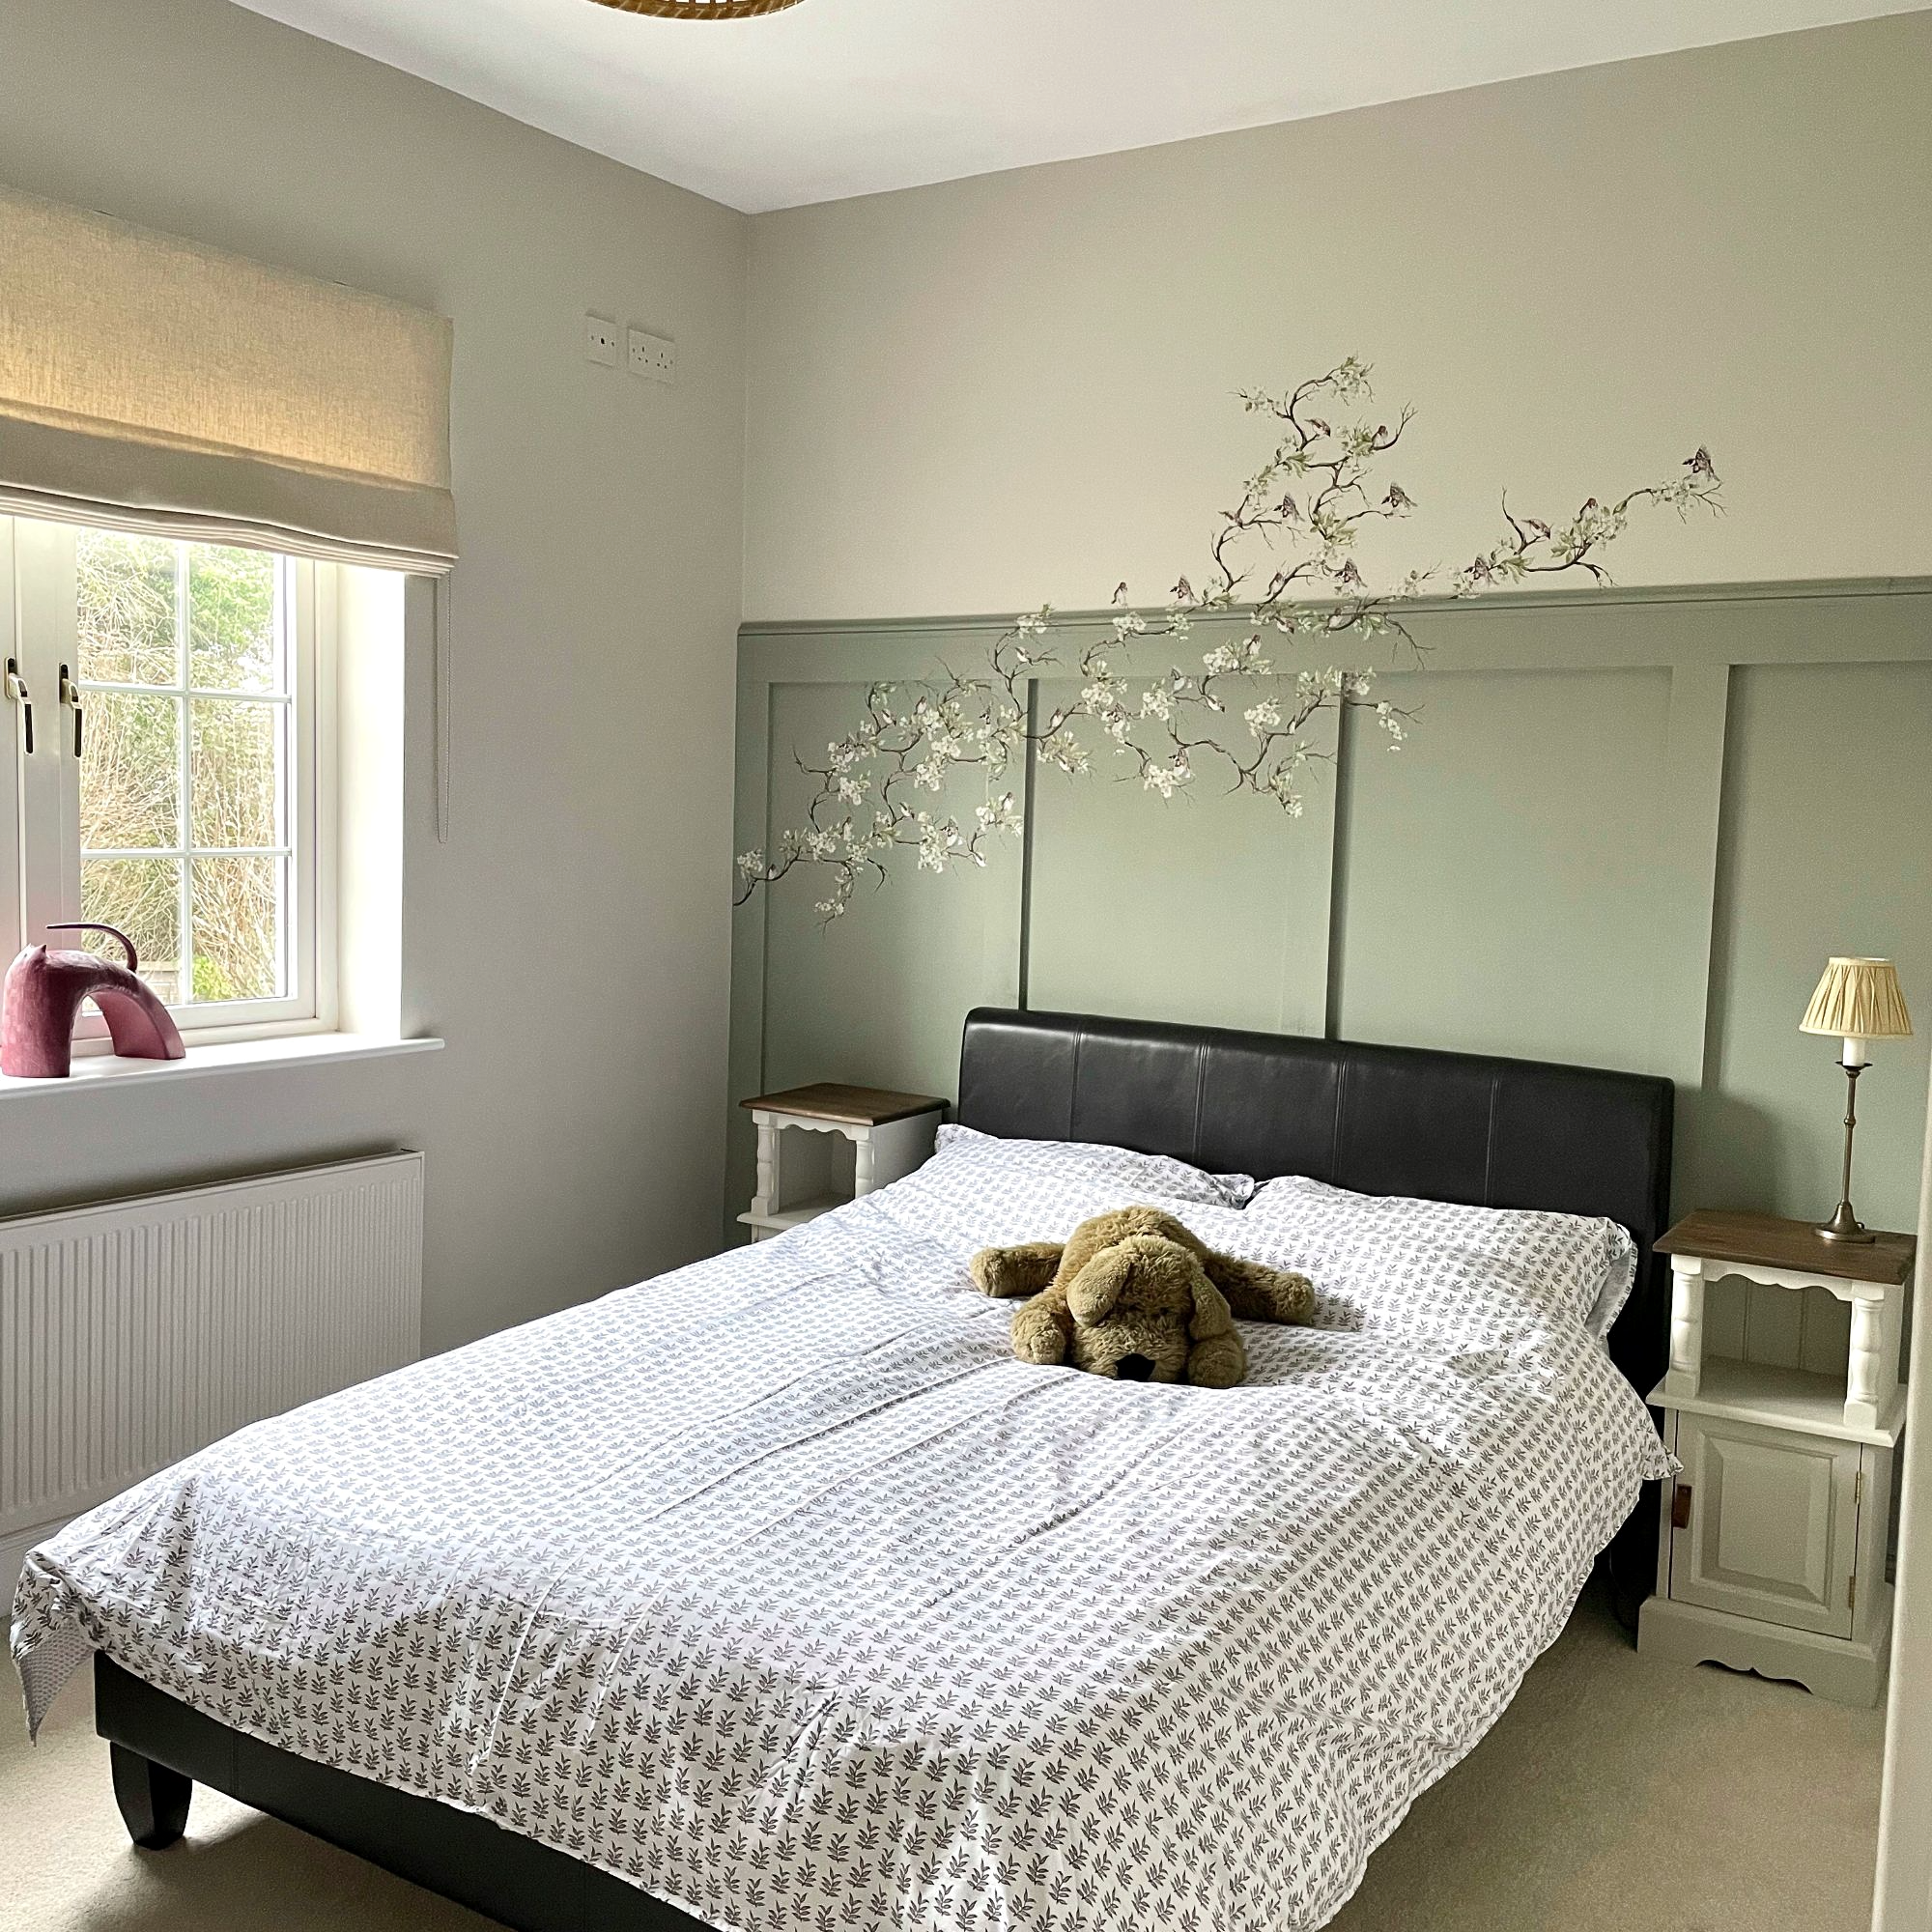
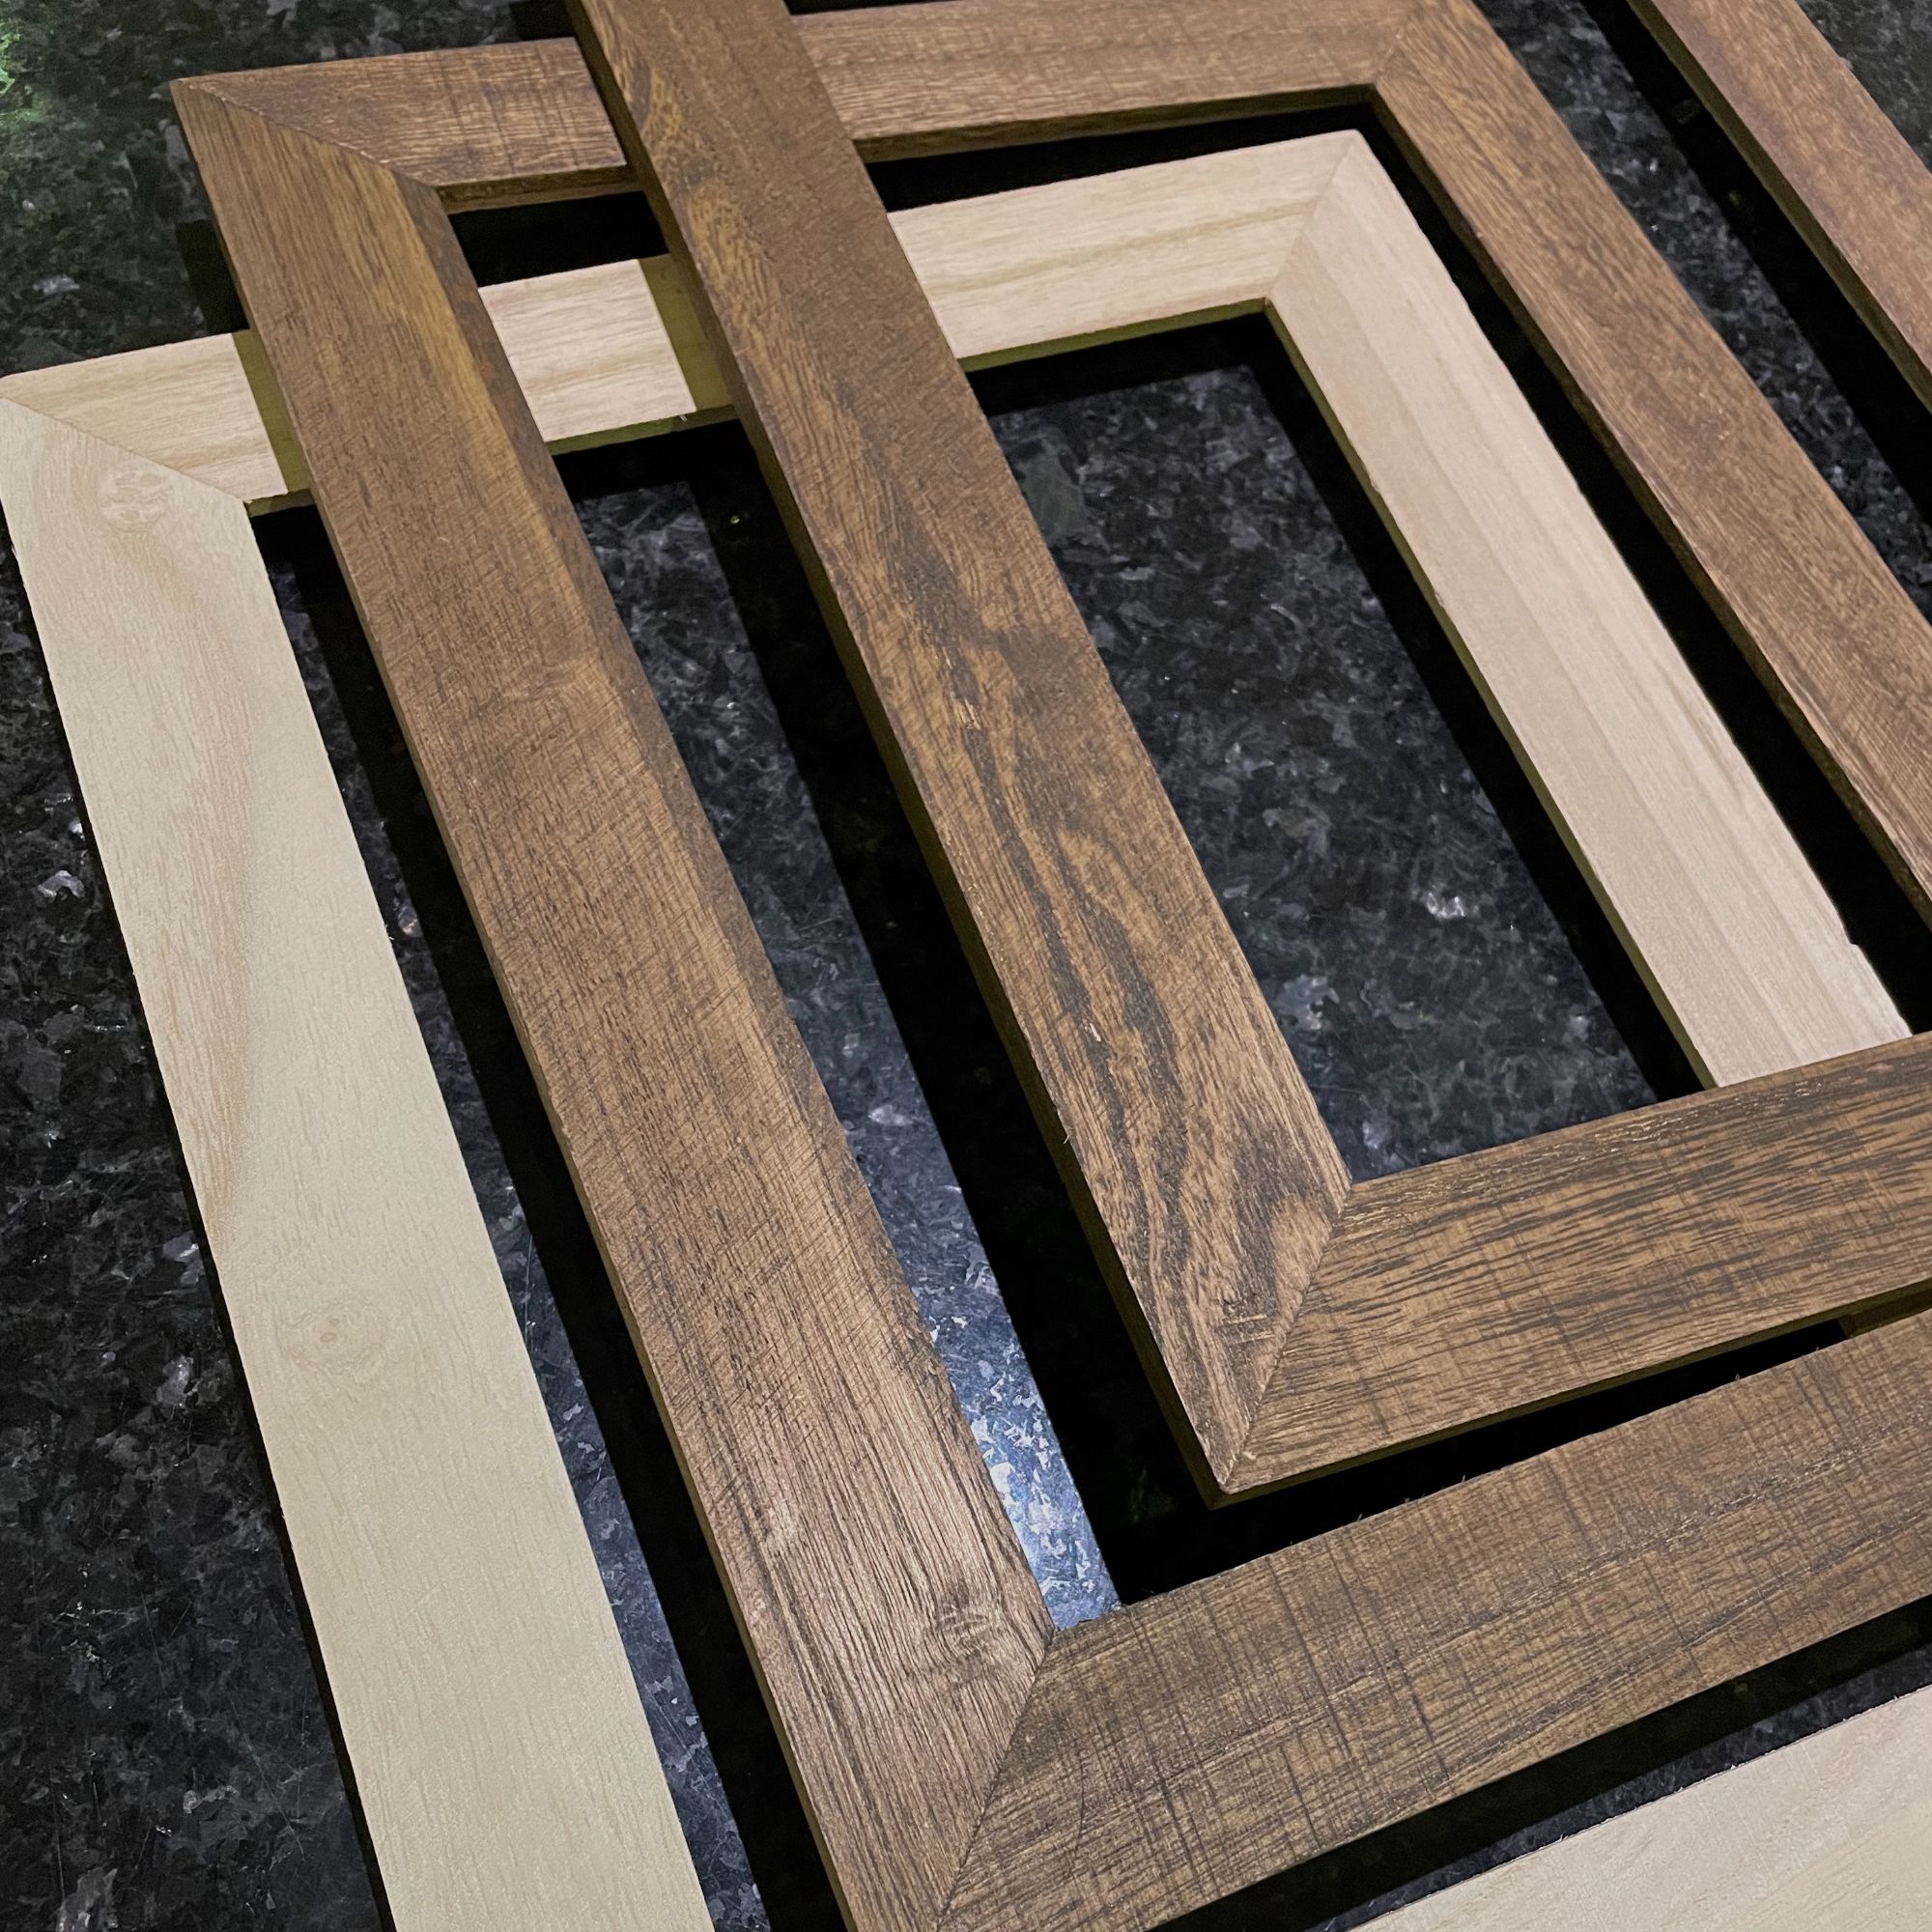
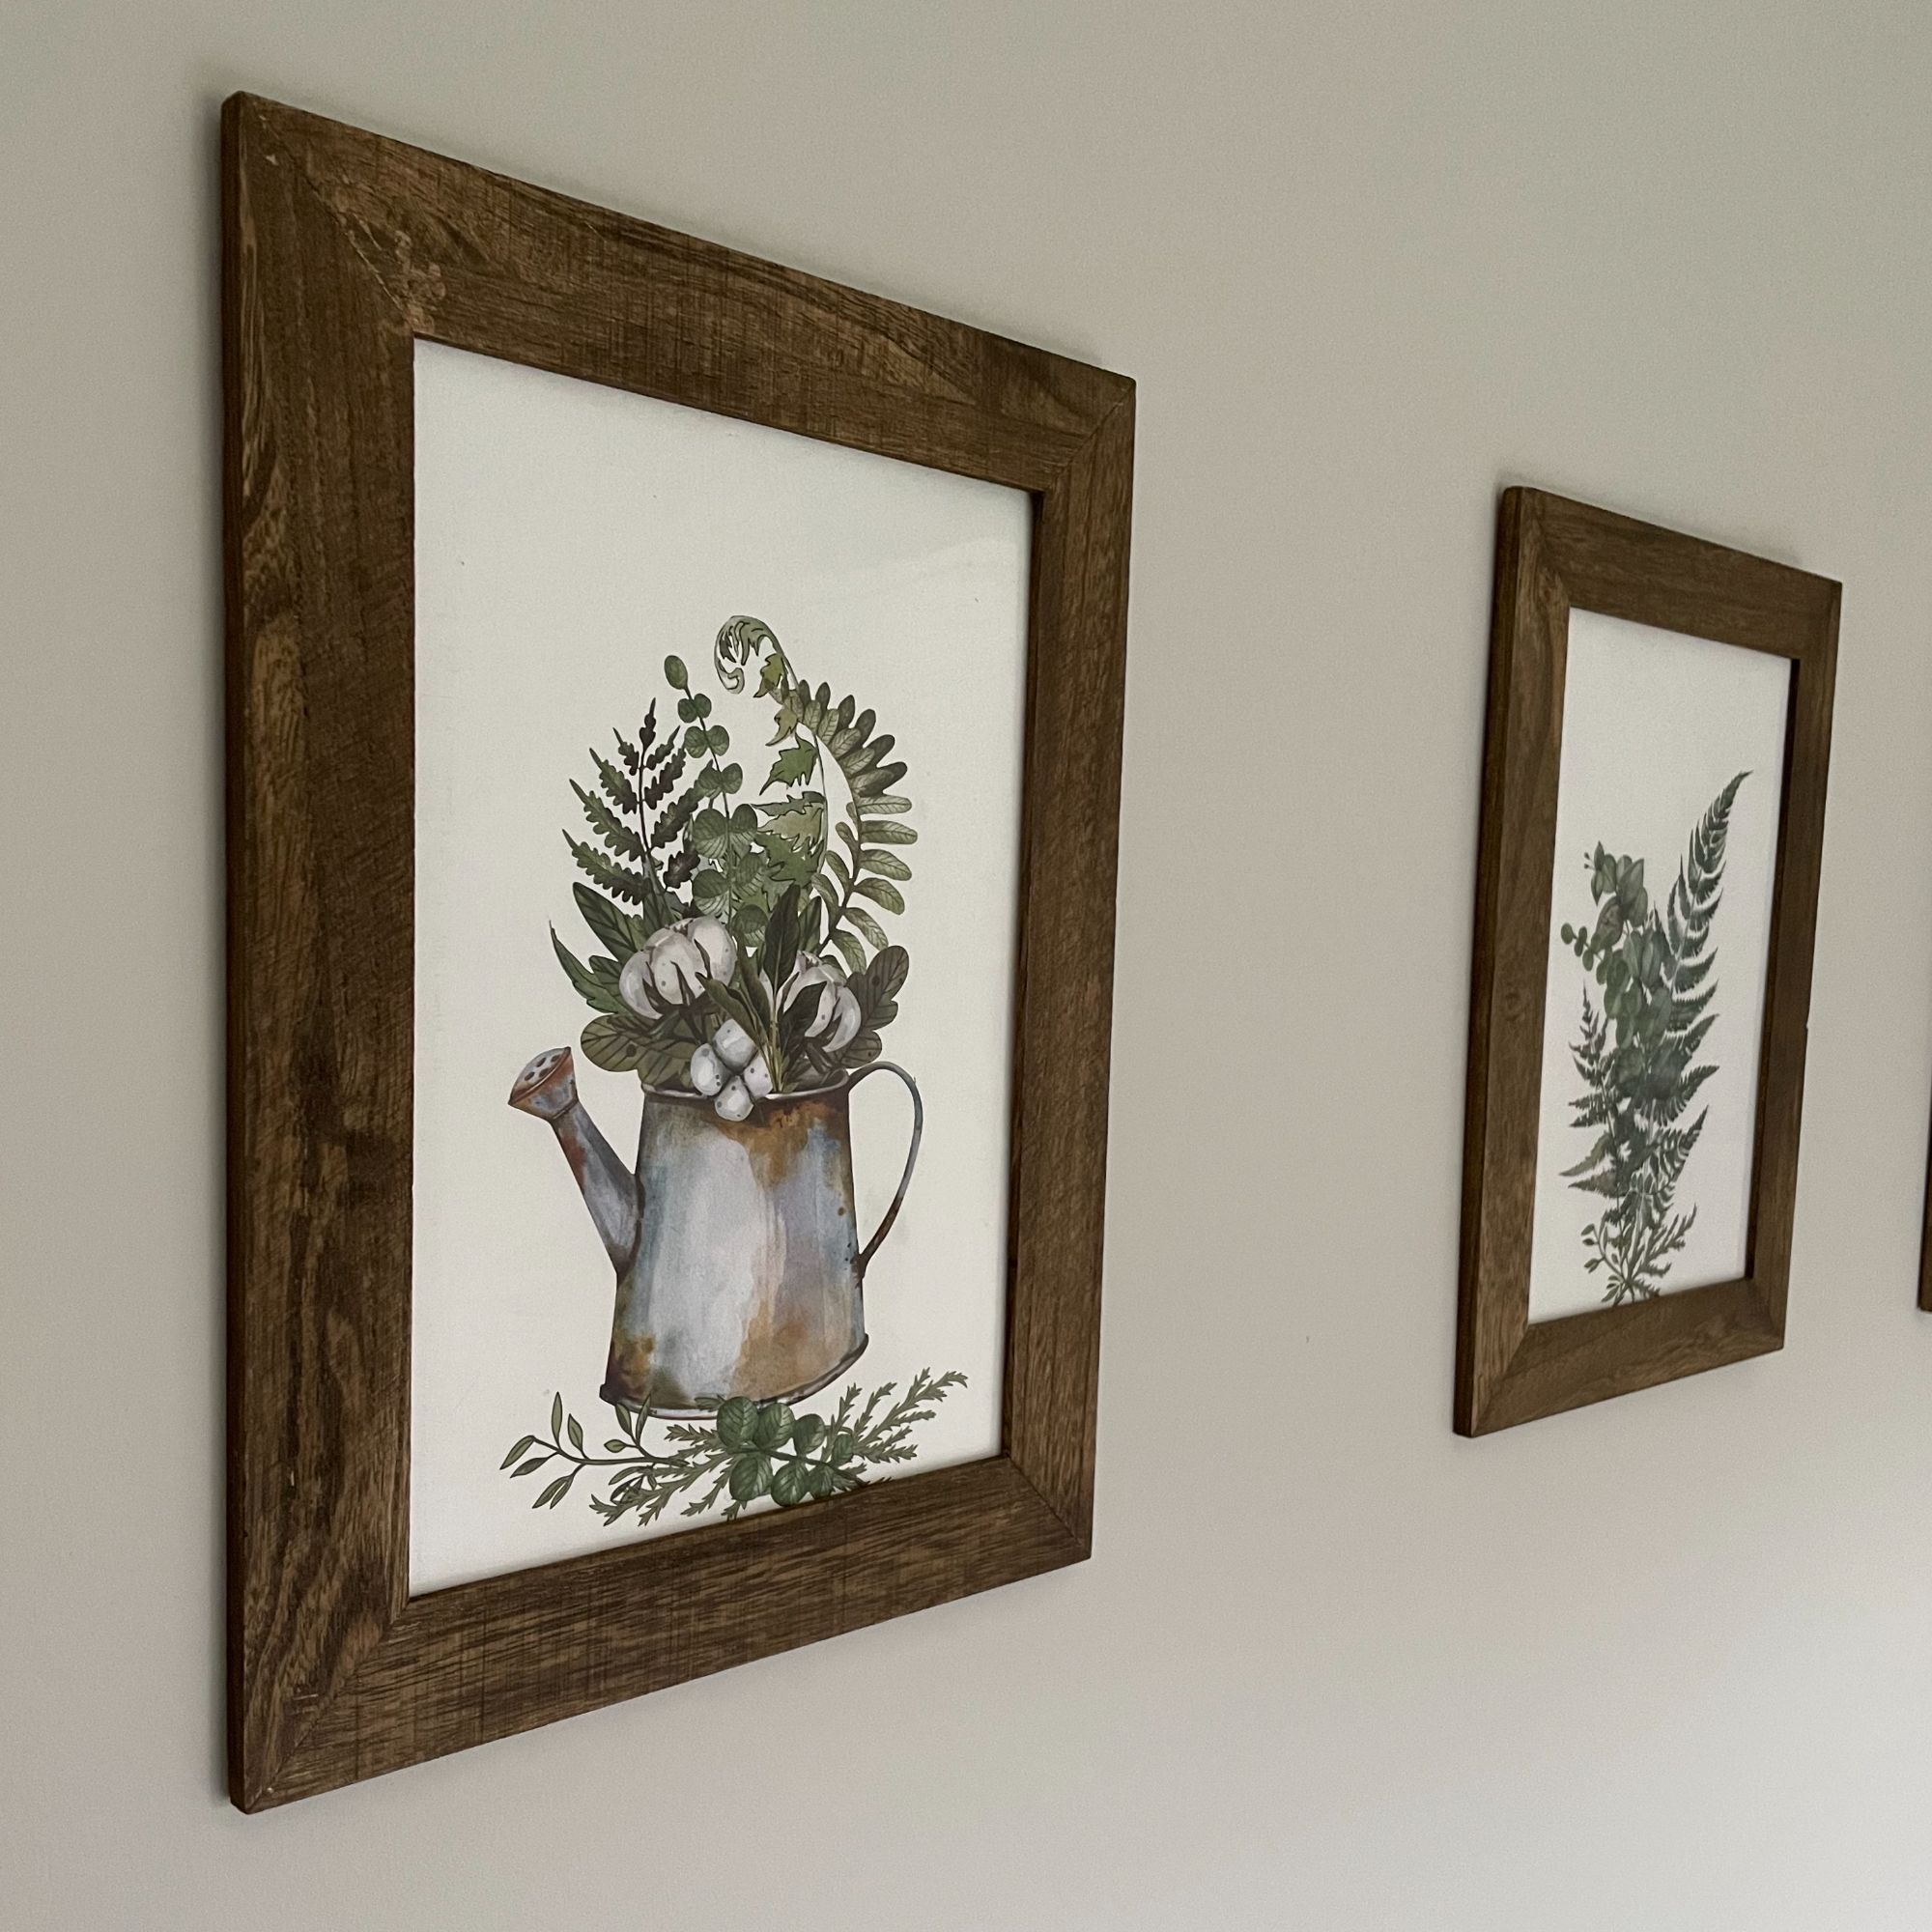
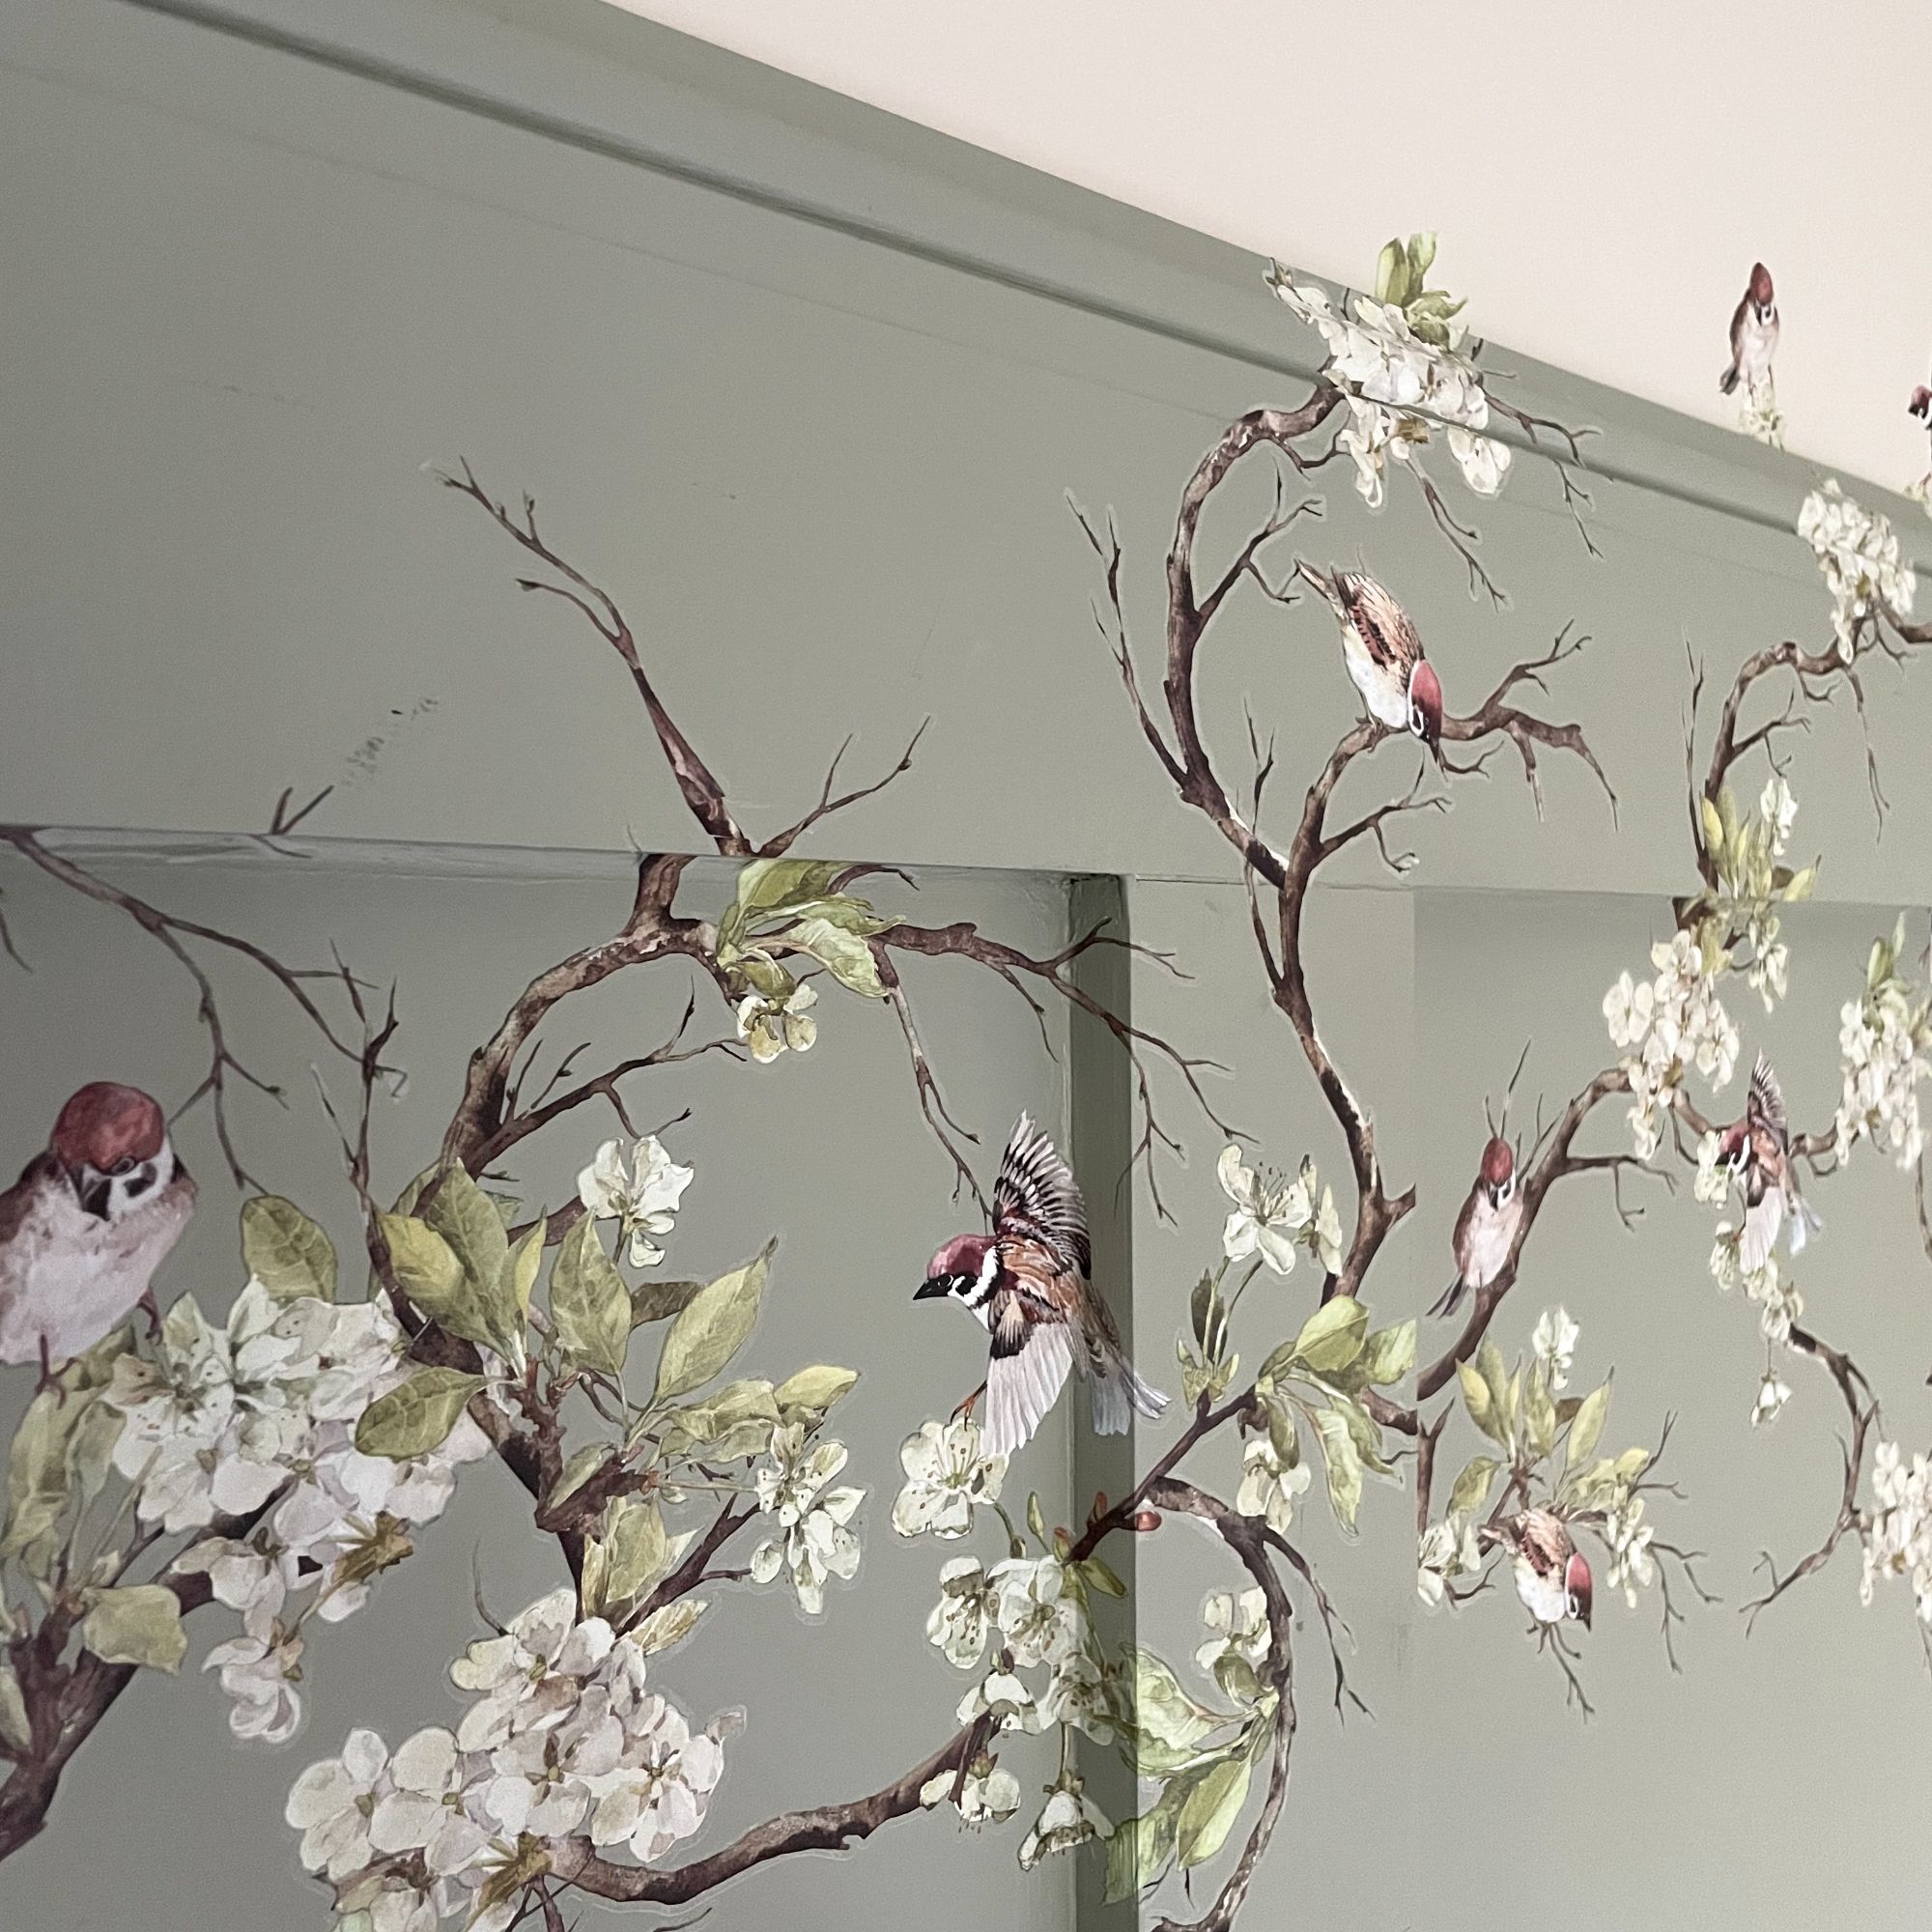
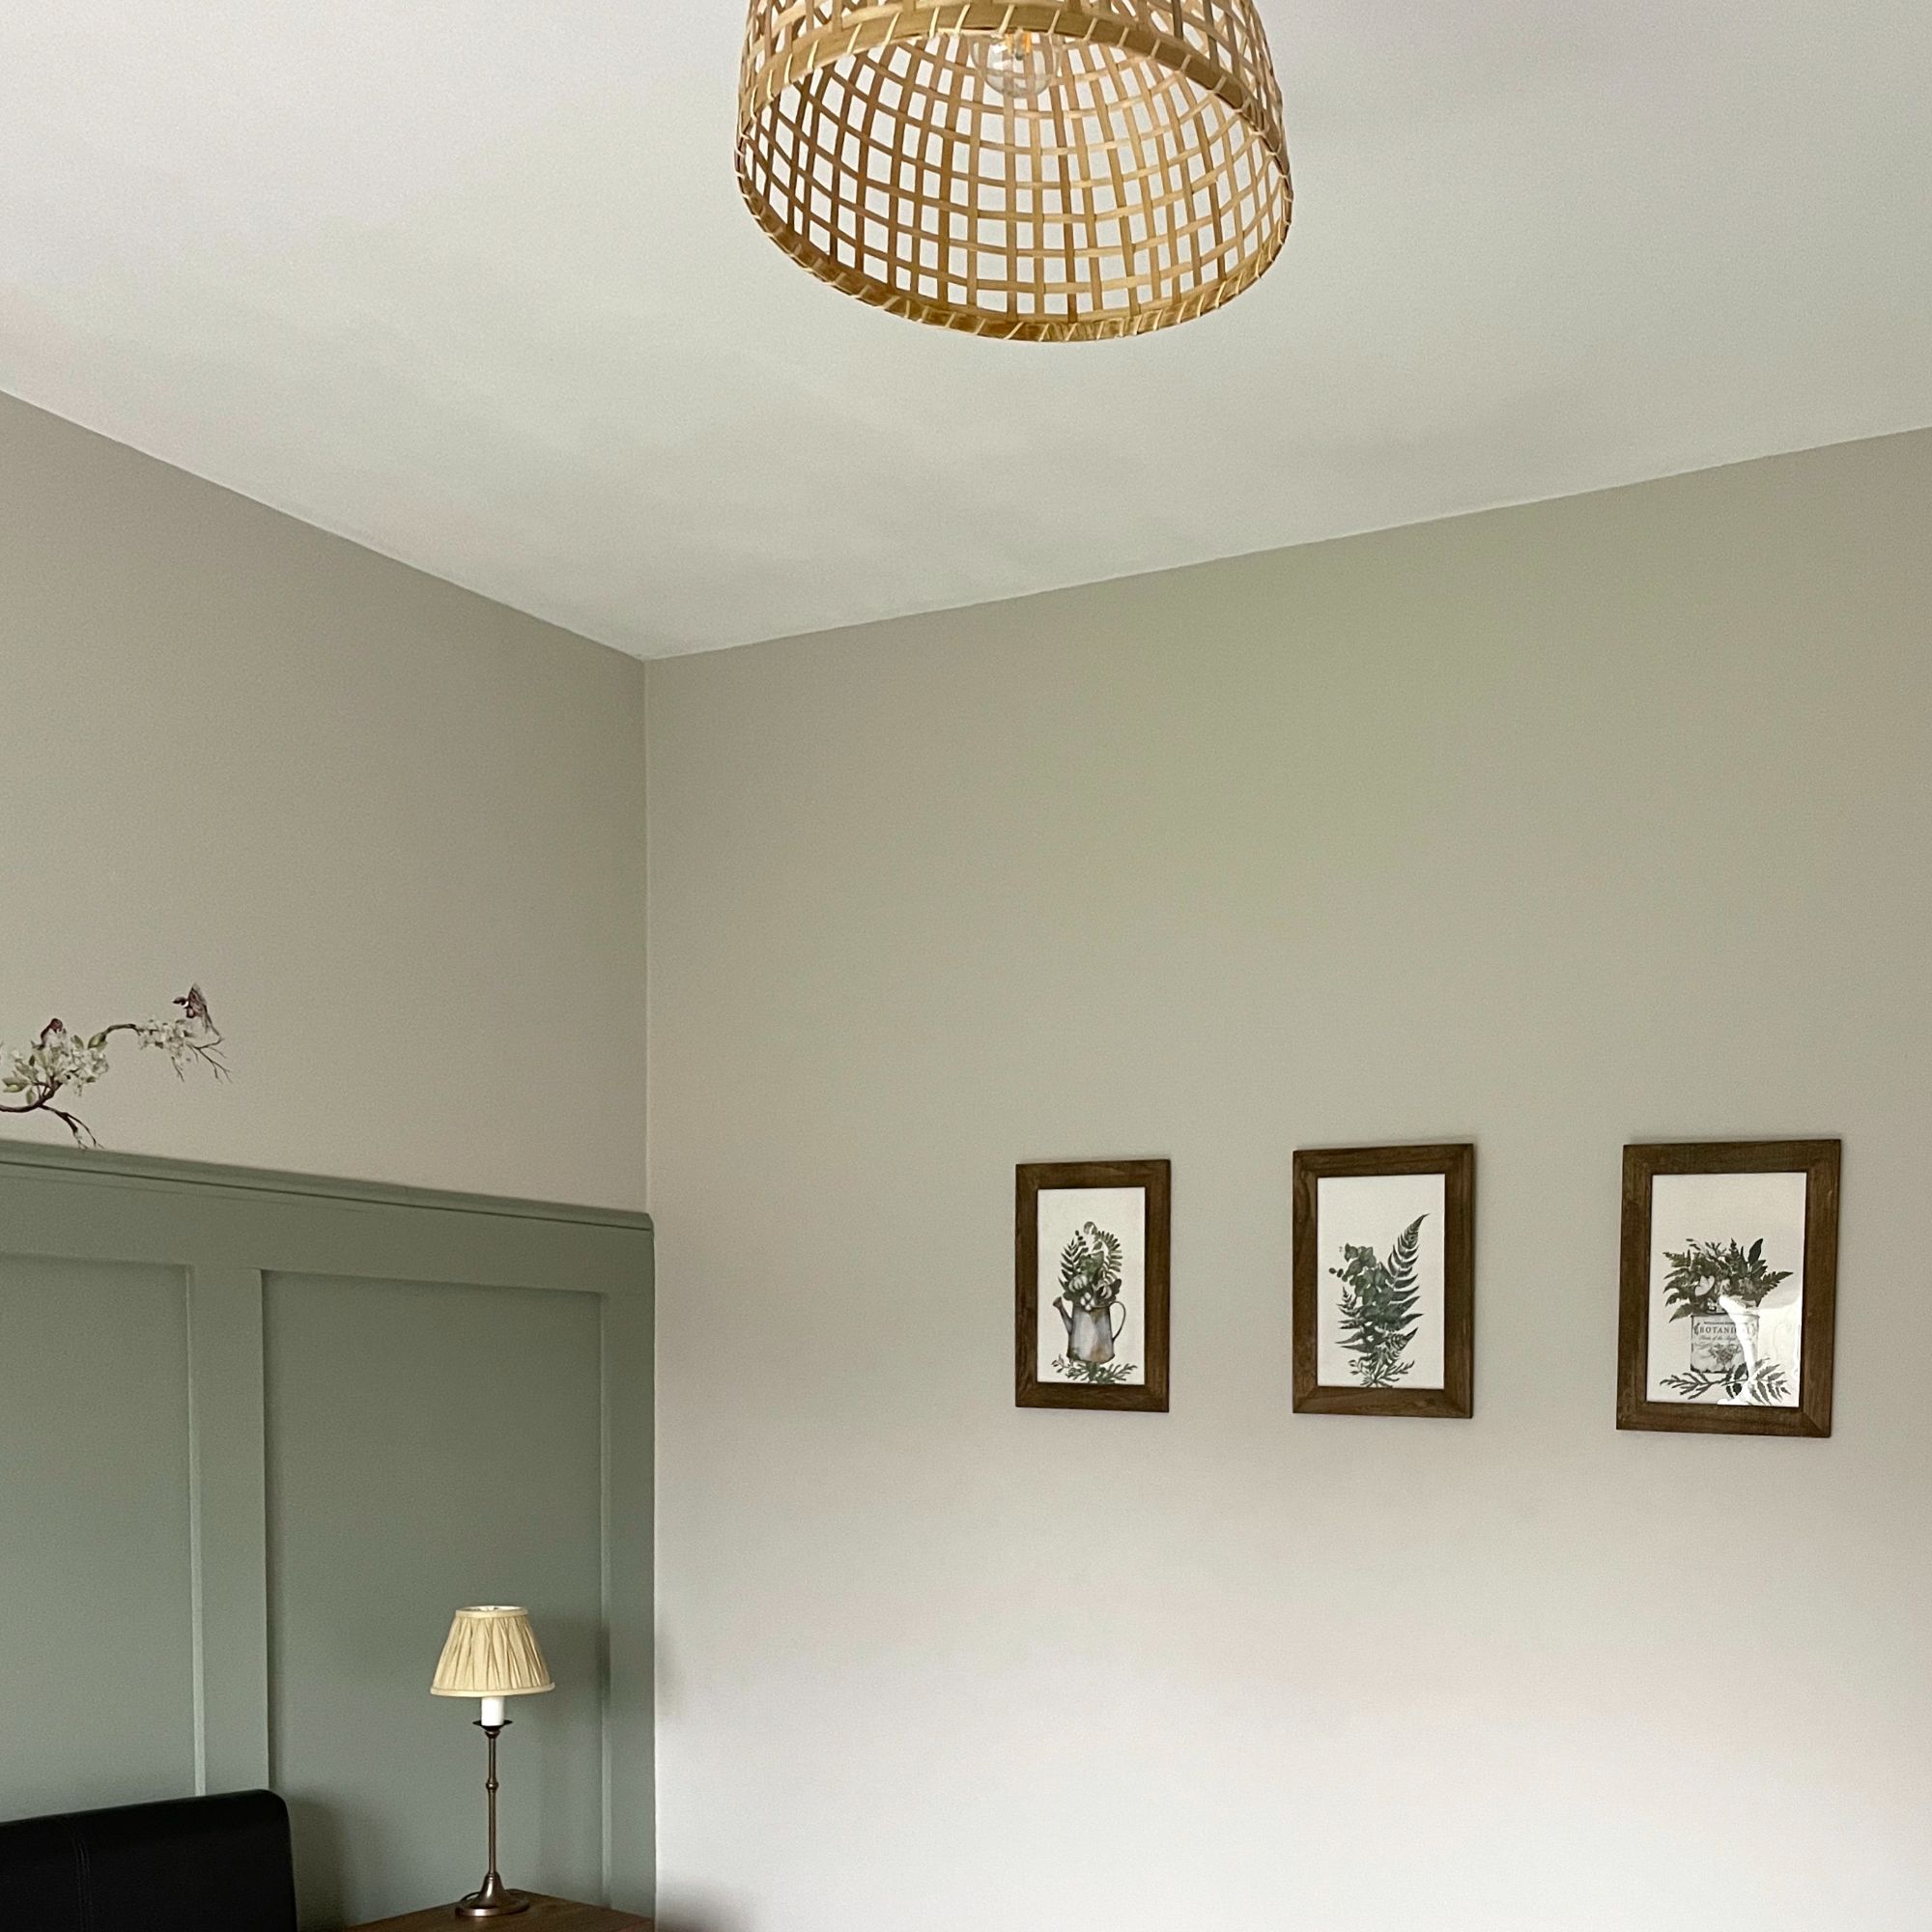
I designed the pictures by staining the frames with the same SFO as the lockers and used redesign with Prima Decor Transfer Botanical Snippets on a painted white base (Casement). I had intended to hang these above the panelling, but I didn't like the look and moved them to the longer wall. However, I still felt that the panelling needed something extra and I had the idea of using another Decor Transfer, Blossom Flight that also suited the colour scheme of the room. Lots of cutting and positioning later (I used x2 transfers here) I'm delighted with the end result.
A new light shade and duvet set (sale price too) later and our spare room is a no longer a gawdy, pink dumping ground, but a bedroom that oozes peace and tranquillity.

Comments